
Nuthatch 
Robin 
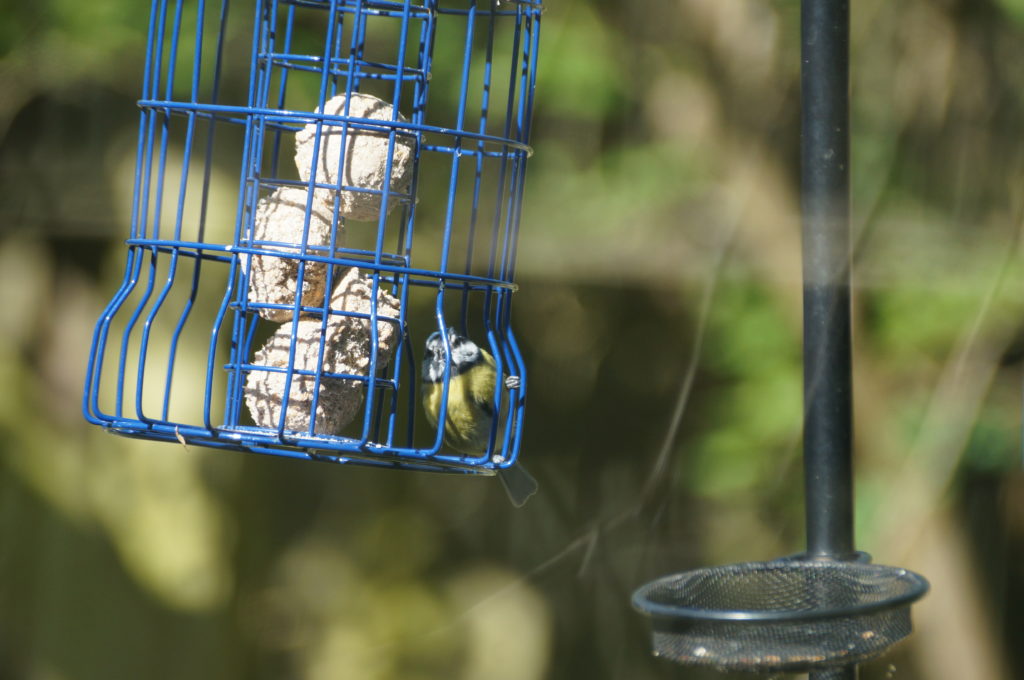
Goldfinches 
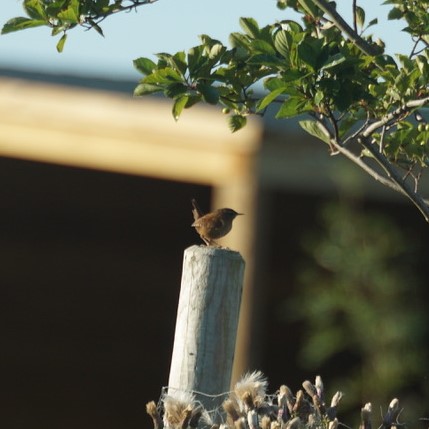
Wren 
Long-tailed tit 
Grey wagtail 
Categories
This is a response to your man @petedotnu, who asked me for a photo tour of my workshop. It’s a space that is still evolving, so maybe this post will be the first in a series.
I was inspired to take up woodworking six months ago, and then became a little obsessed. My friends have been very patient on our weekly Zoom calls as I bang on about wood and very little else. It’s good of Pete to take an interest, but if you know him you’ll know he’s nice like that, and a practical guy himself, and his general curiosity about everything is why we get on so well.
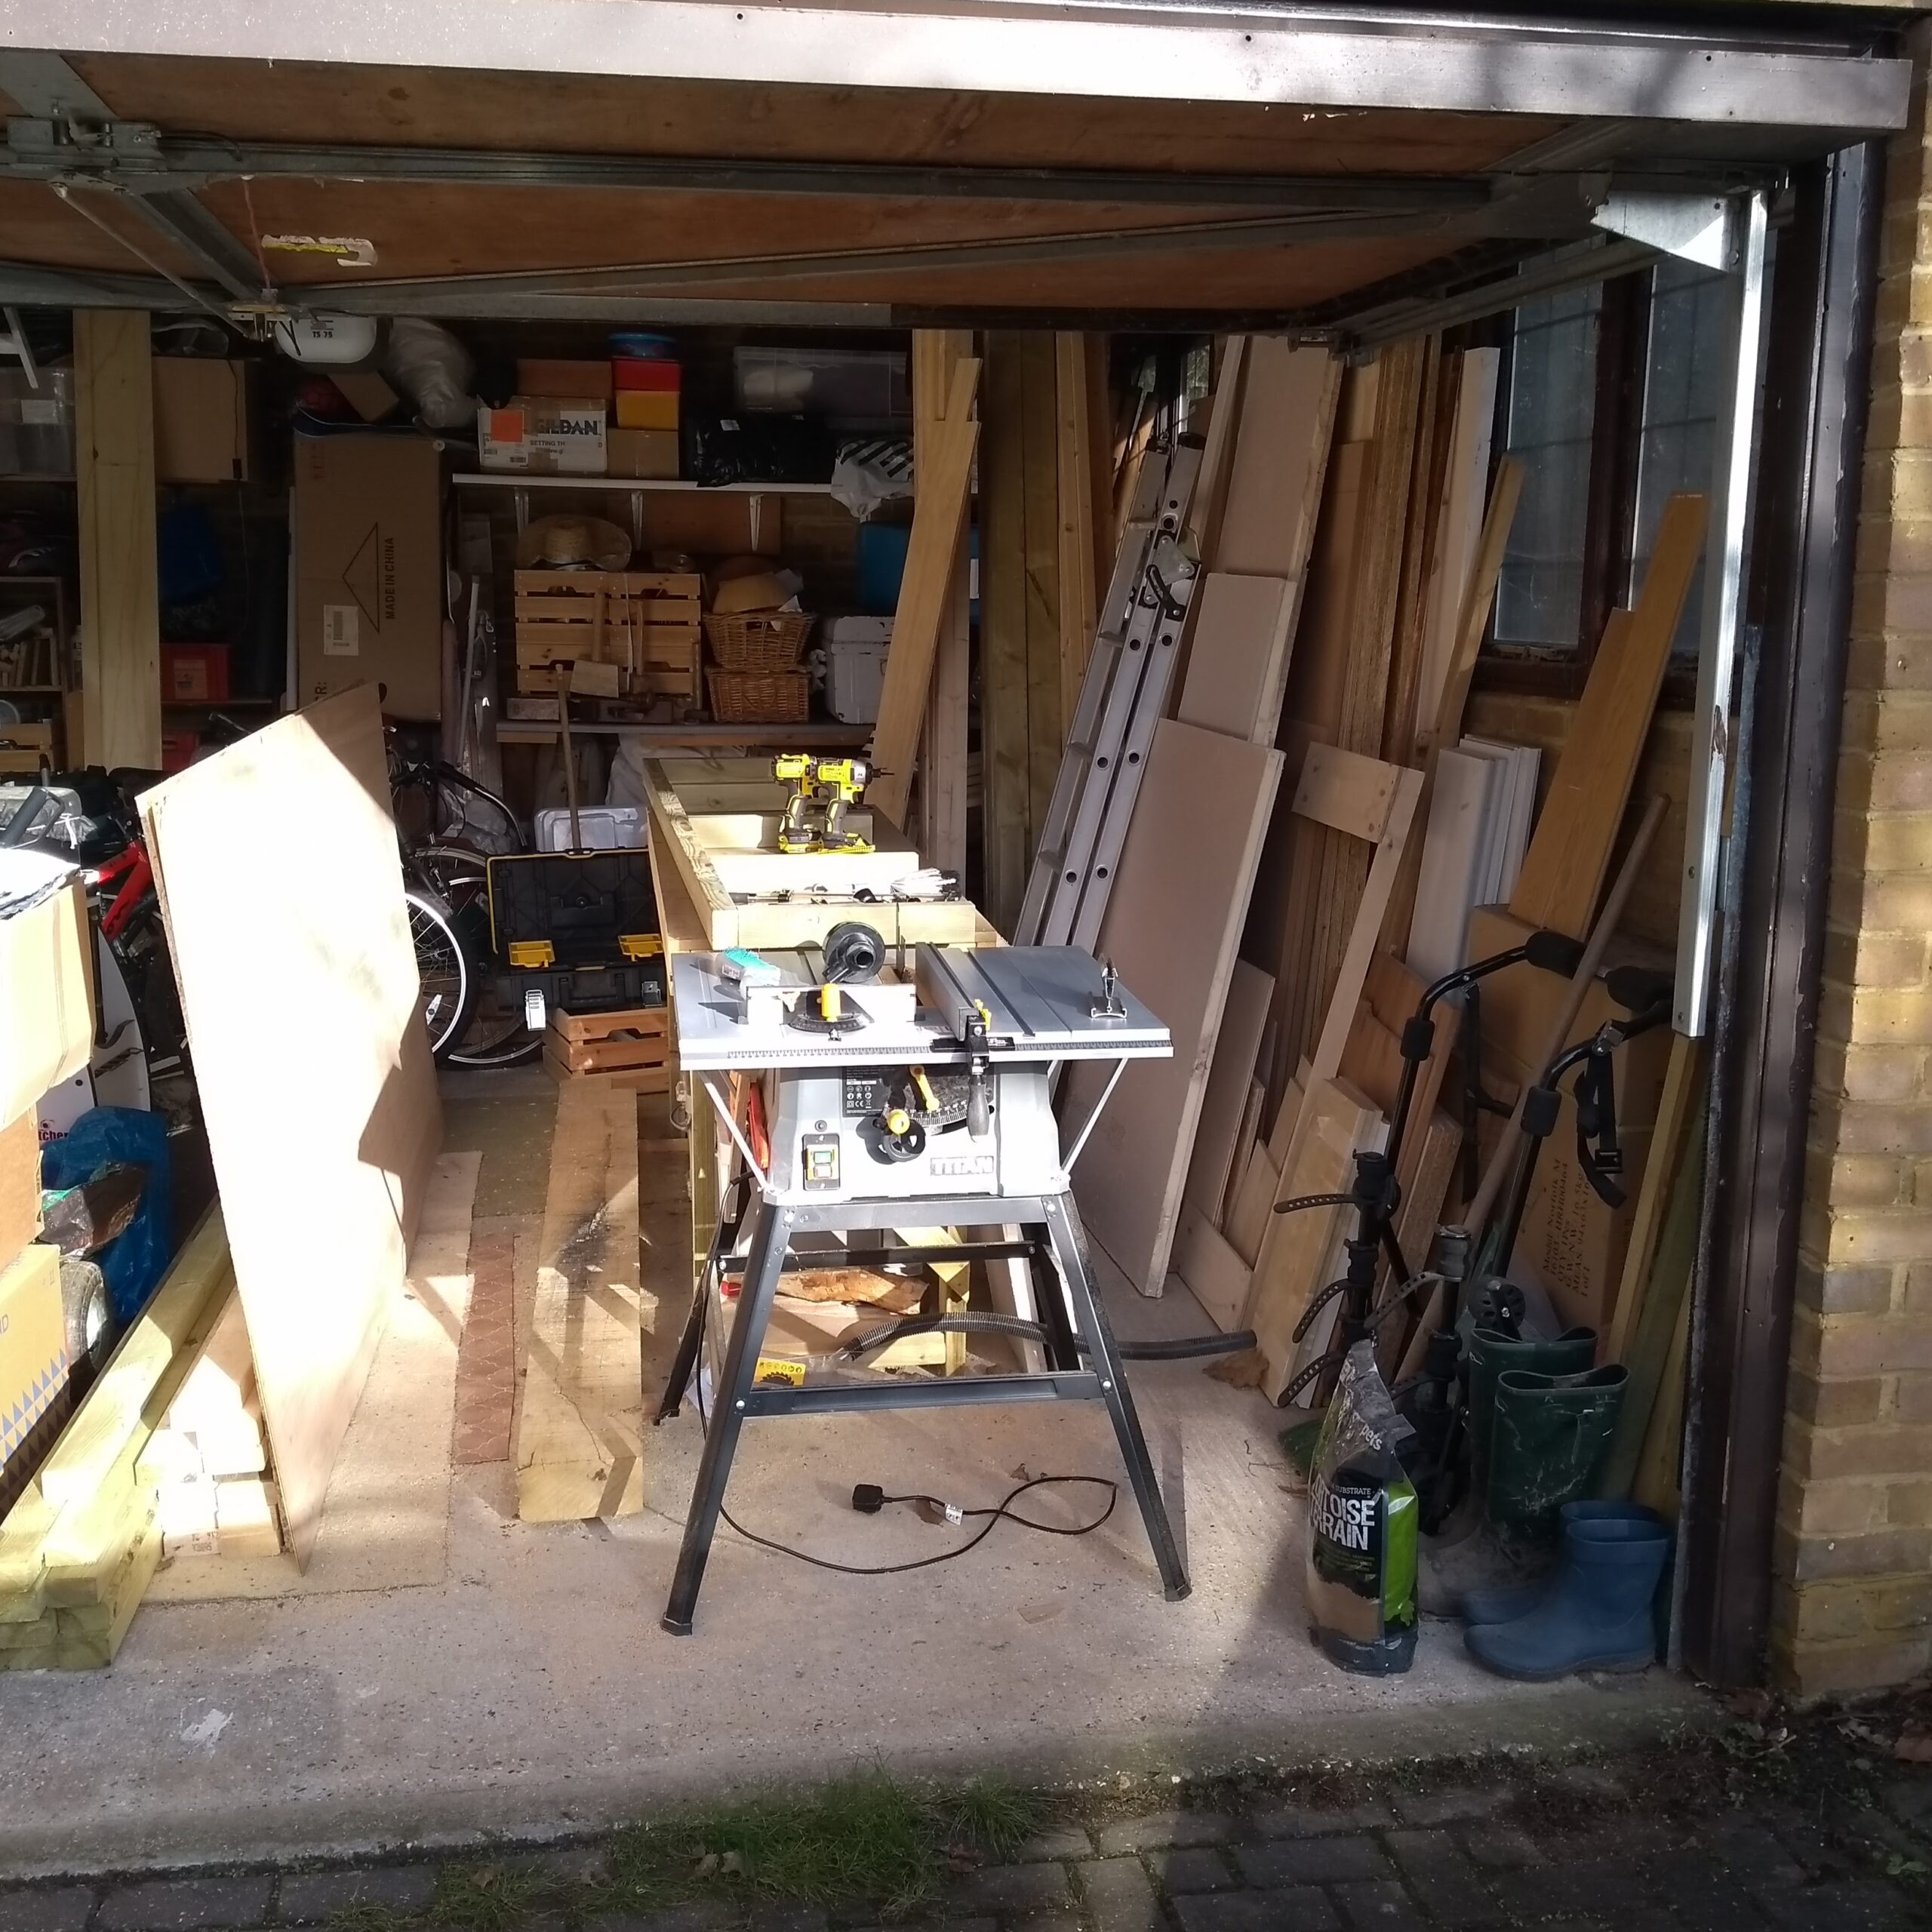
Together with huge stock of wood, my workspace takes up nearly half of our double garage. In the next few weeks I plan to build some shelves down the middle of the garage, floor to ceiling, as far as the up-and-over door allows.
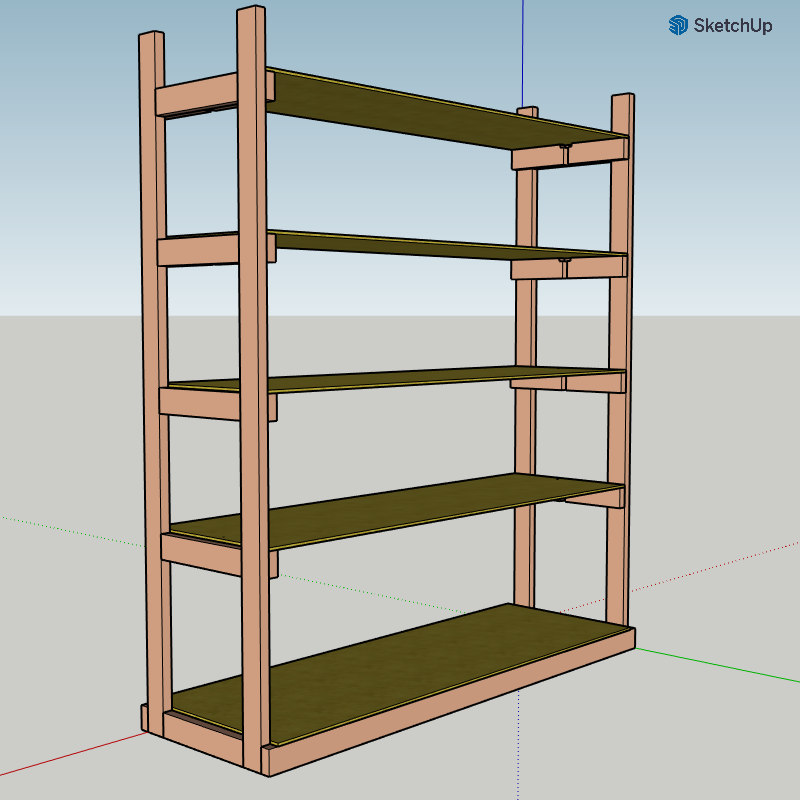
These shelves will hold most of the stuff that is currently stored against the back wall, freeing up that space for more efficient storage of the bikes. The shelves will also help partition my workspace off from the rest of the garage, hopefully limiting my tendency to leave wood and tools in everybody’s way.
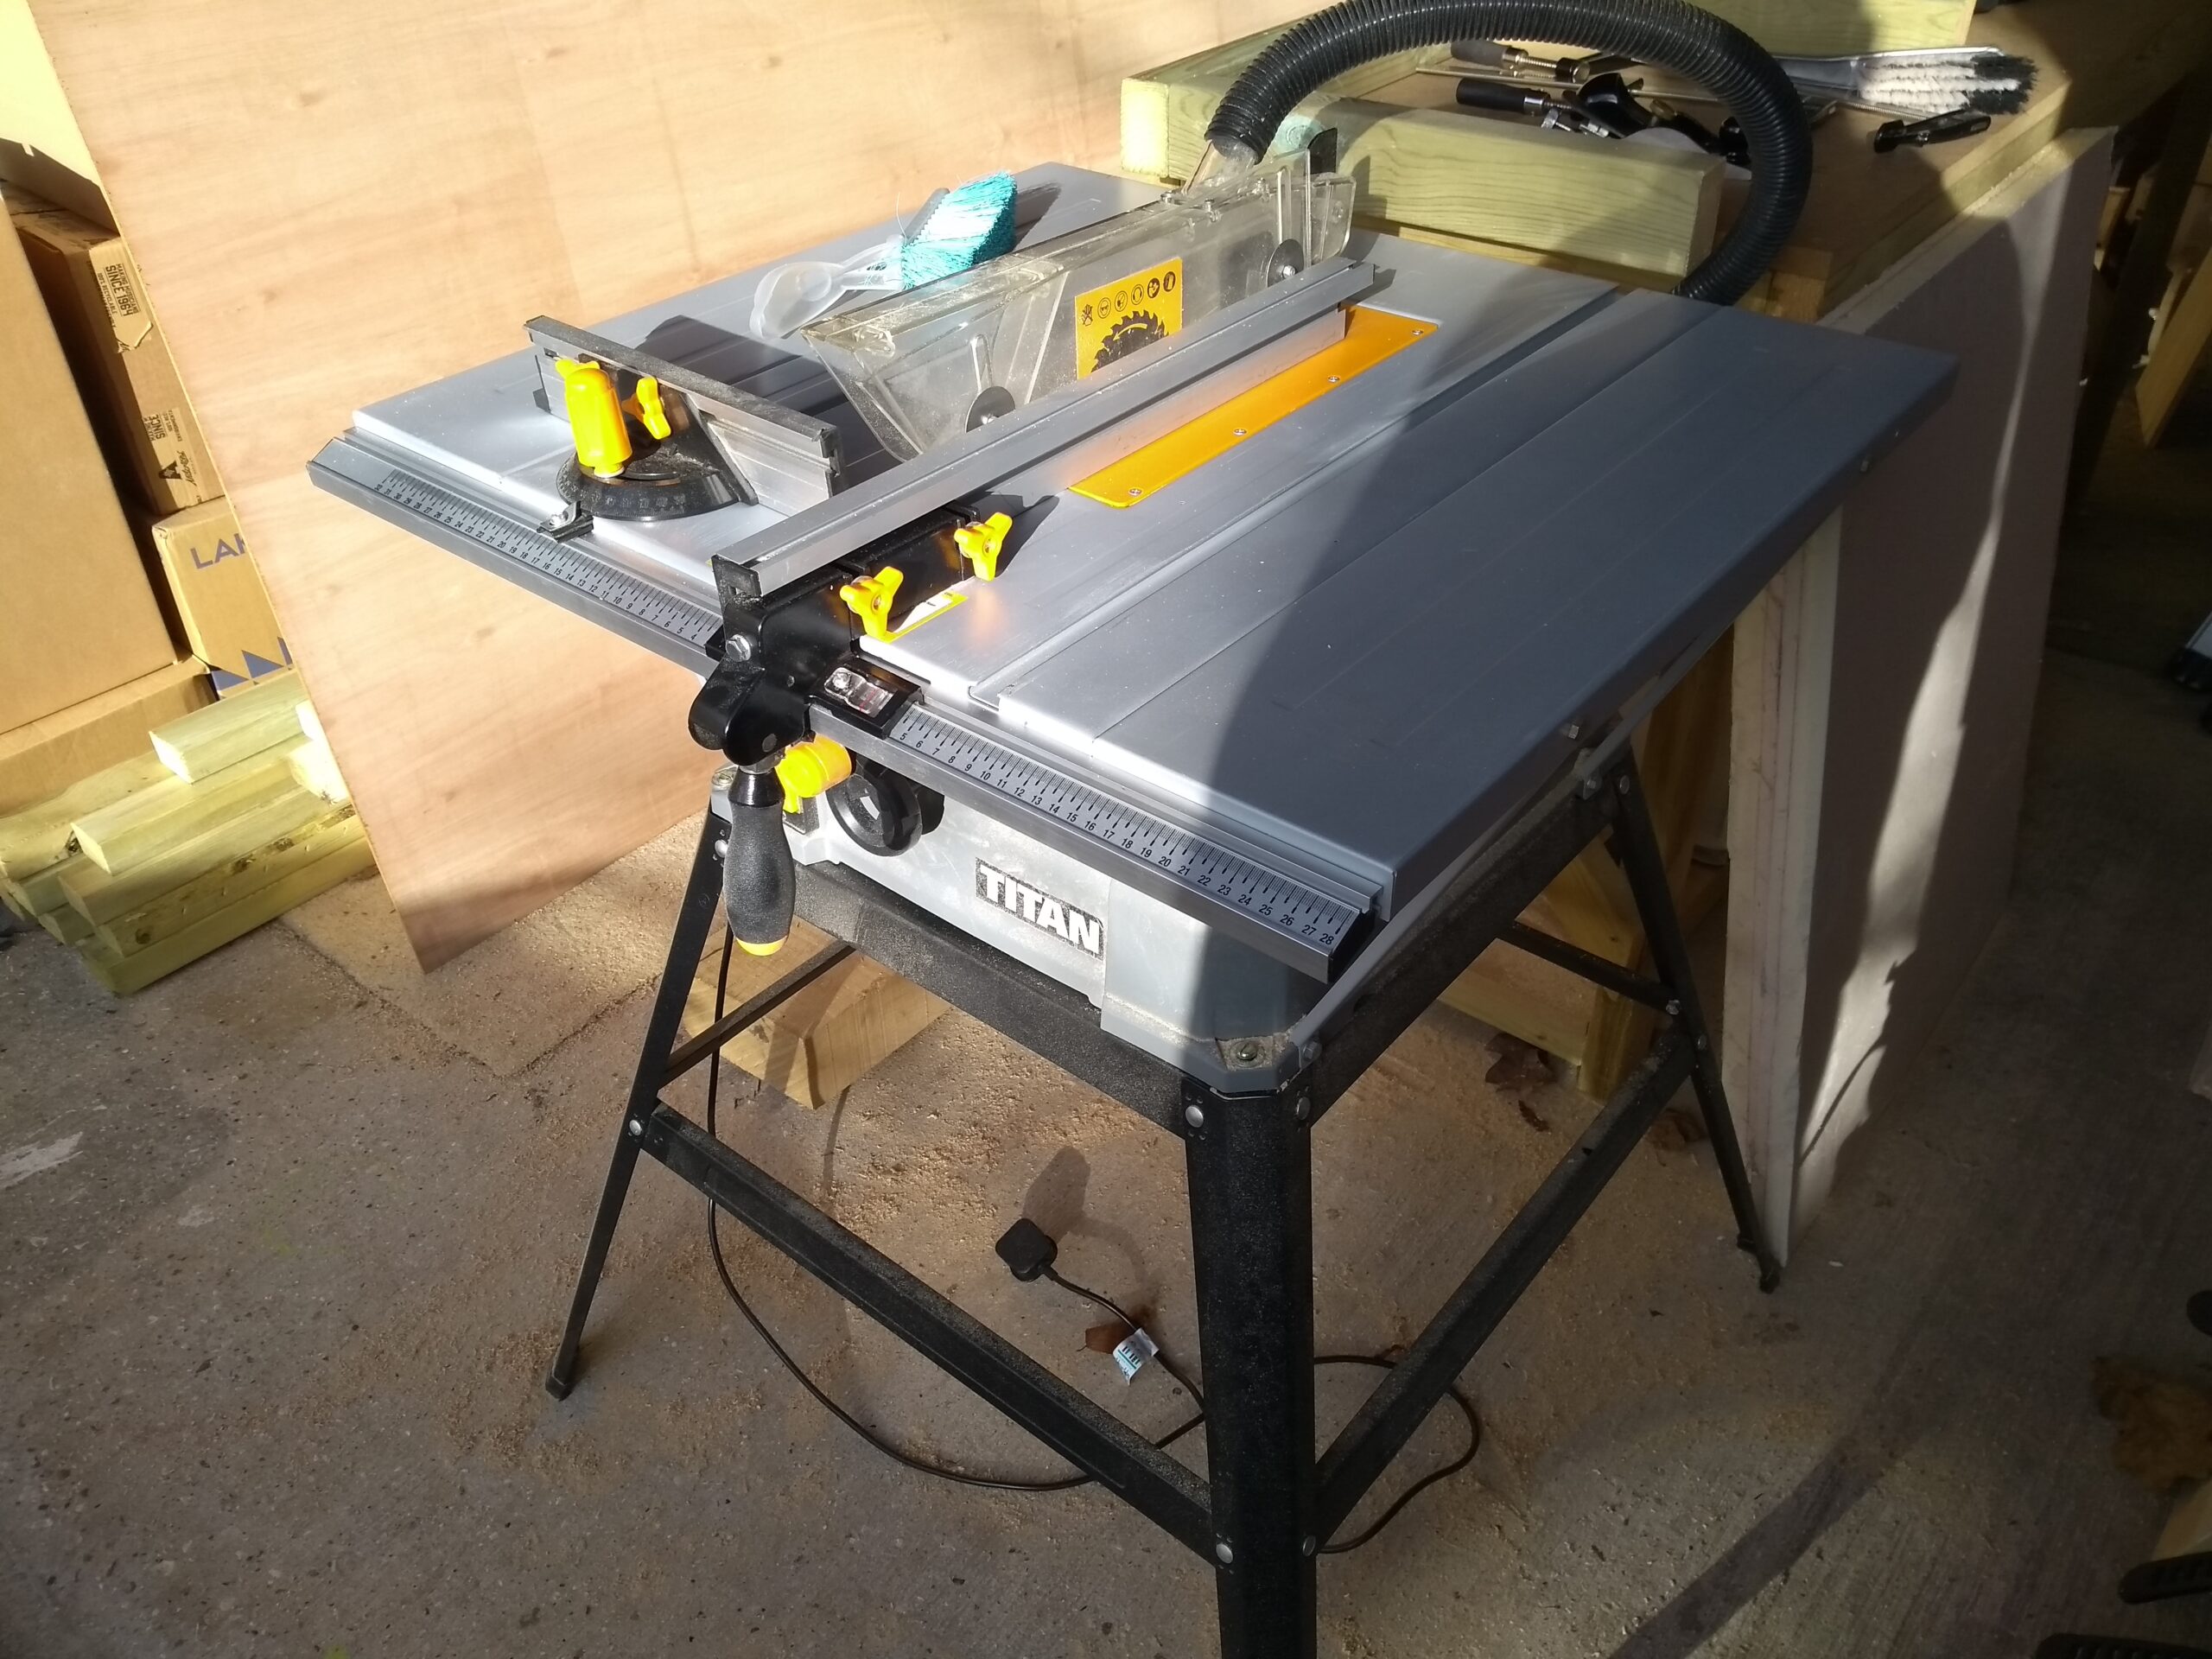
I see people on YouTube doing some fantastic precision joinery with table saws and for a while I wanted to emulate that, but I soon realised that’s not going to happen without spending more money than I can justify on a high-end saw. Instead I settled for this Titan, probably the cheapest model on the market that isn’t utter shite, and I got this particular one half-price on ebay. The fence wobbles, and the mitre guide is almost useless, but it’s good enough for rough work. I plan to build a cross-cut sled for this soon, but even without that I can manage some reasonably consistent cuts.
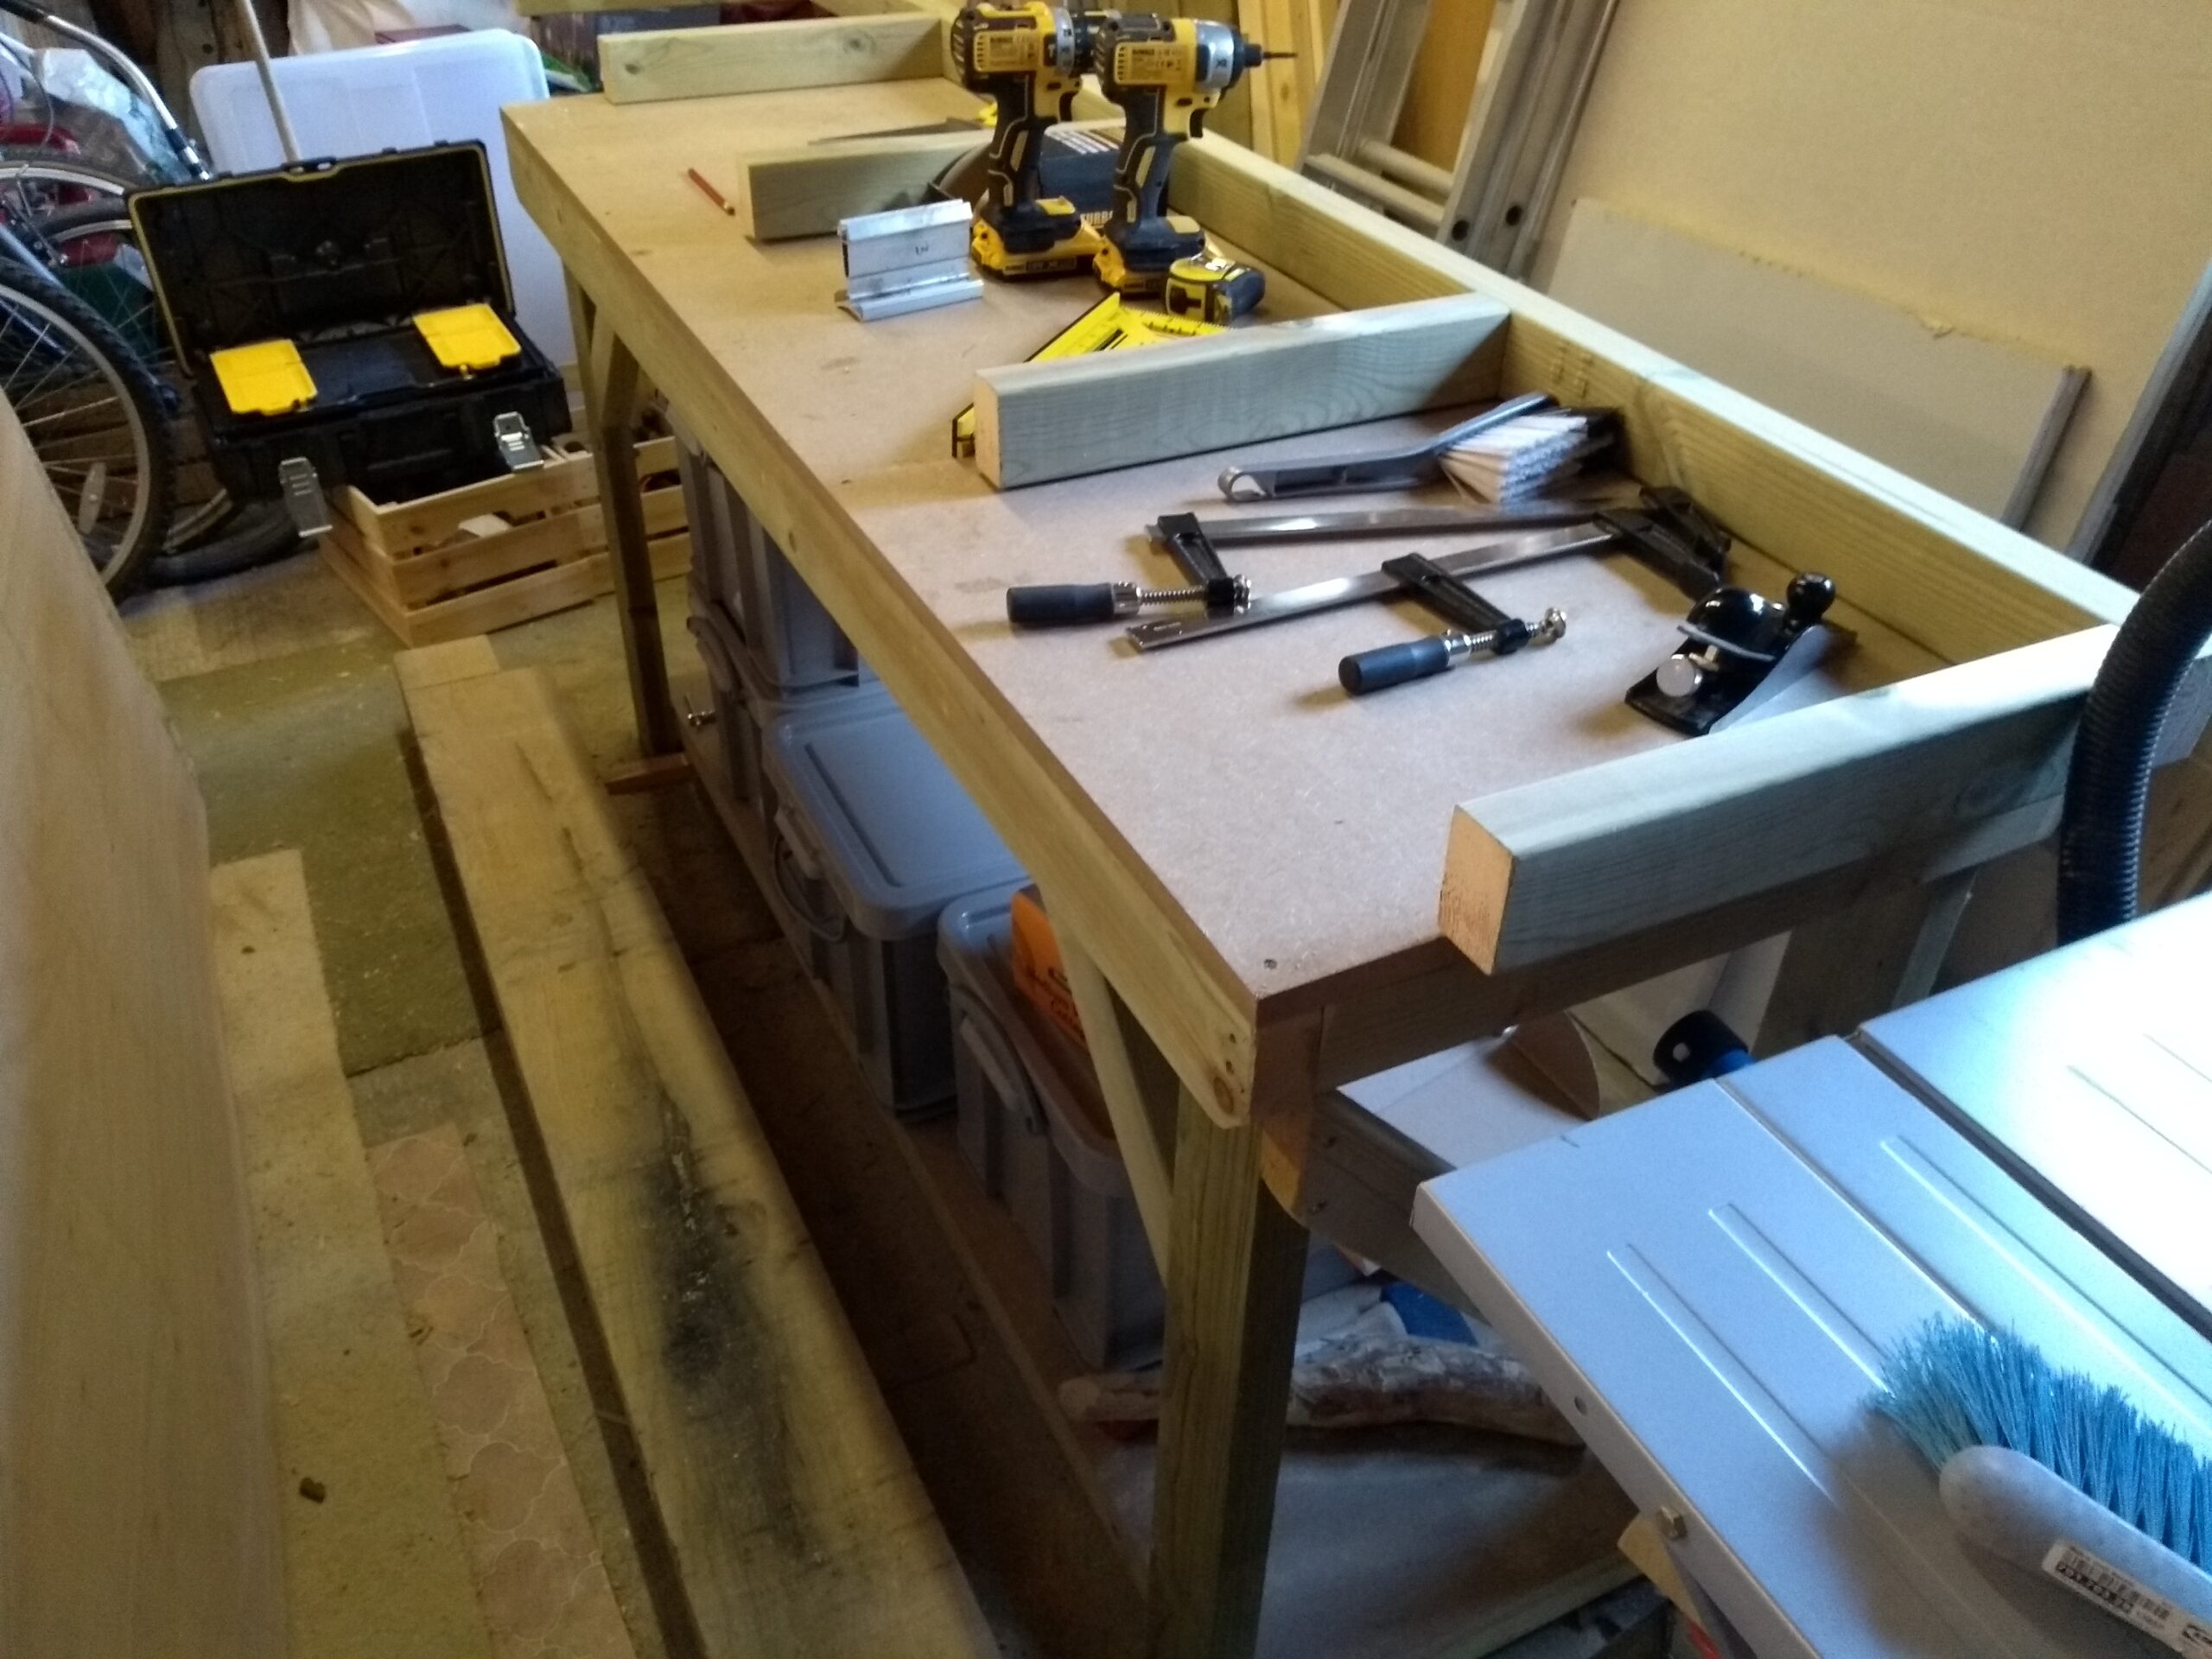
The workbench serves as an outfeed table to the table saw, as it is almost exactly the same height. It’s good and heavy, the top is reasonably flat, and at just £100 for a ready-assembled, six-foot bench it was a good option to get me started. But even though I’m quite tall, I find it a few inches too high for comfort when planing and sawing.
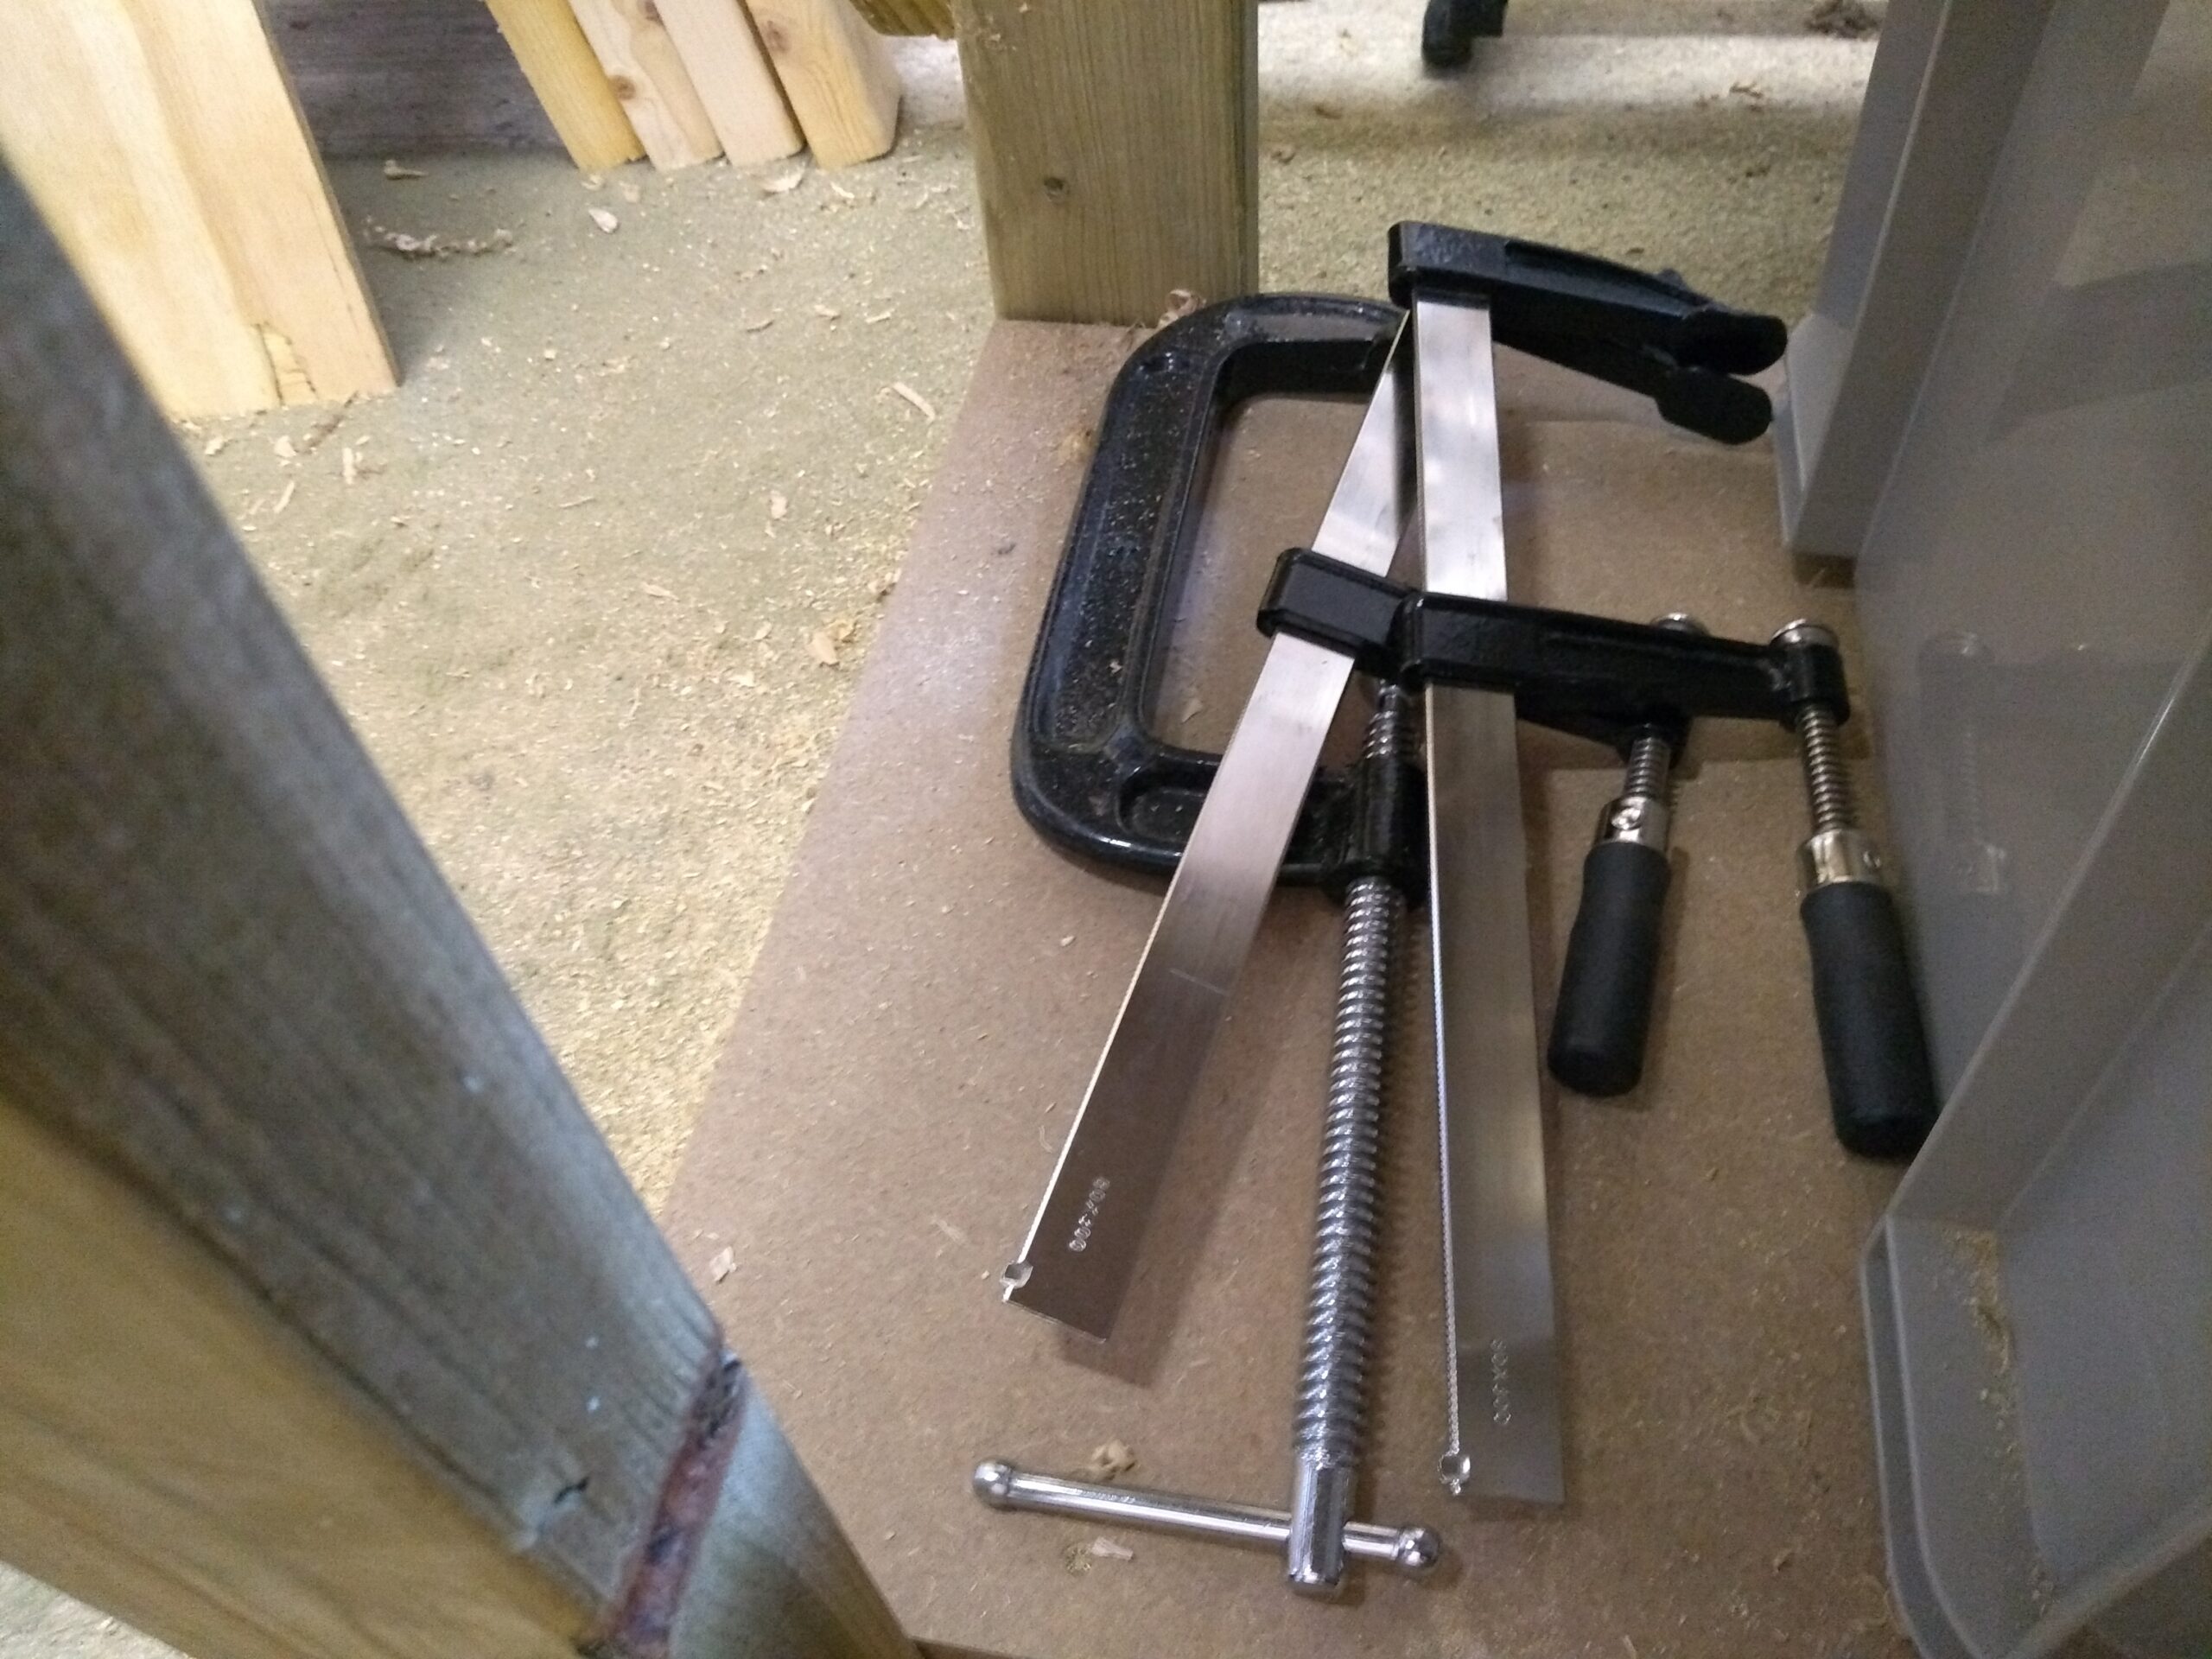
I’m making do without a vice, just using F-clamps to fix my work on or against the edge of the bench. When I’ve built my low roman workbench then this one will be demoted, perhaps to serve as a station for my mitre saw and the drill press I hope to get next year. I’d love to build a traditional English joiner’s bench with a couple of big vices, but that project is a long way off yet.
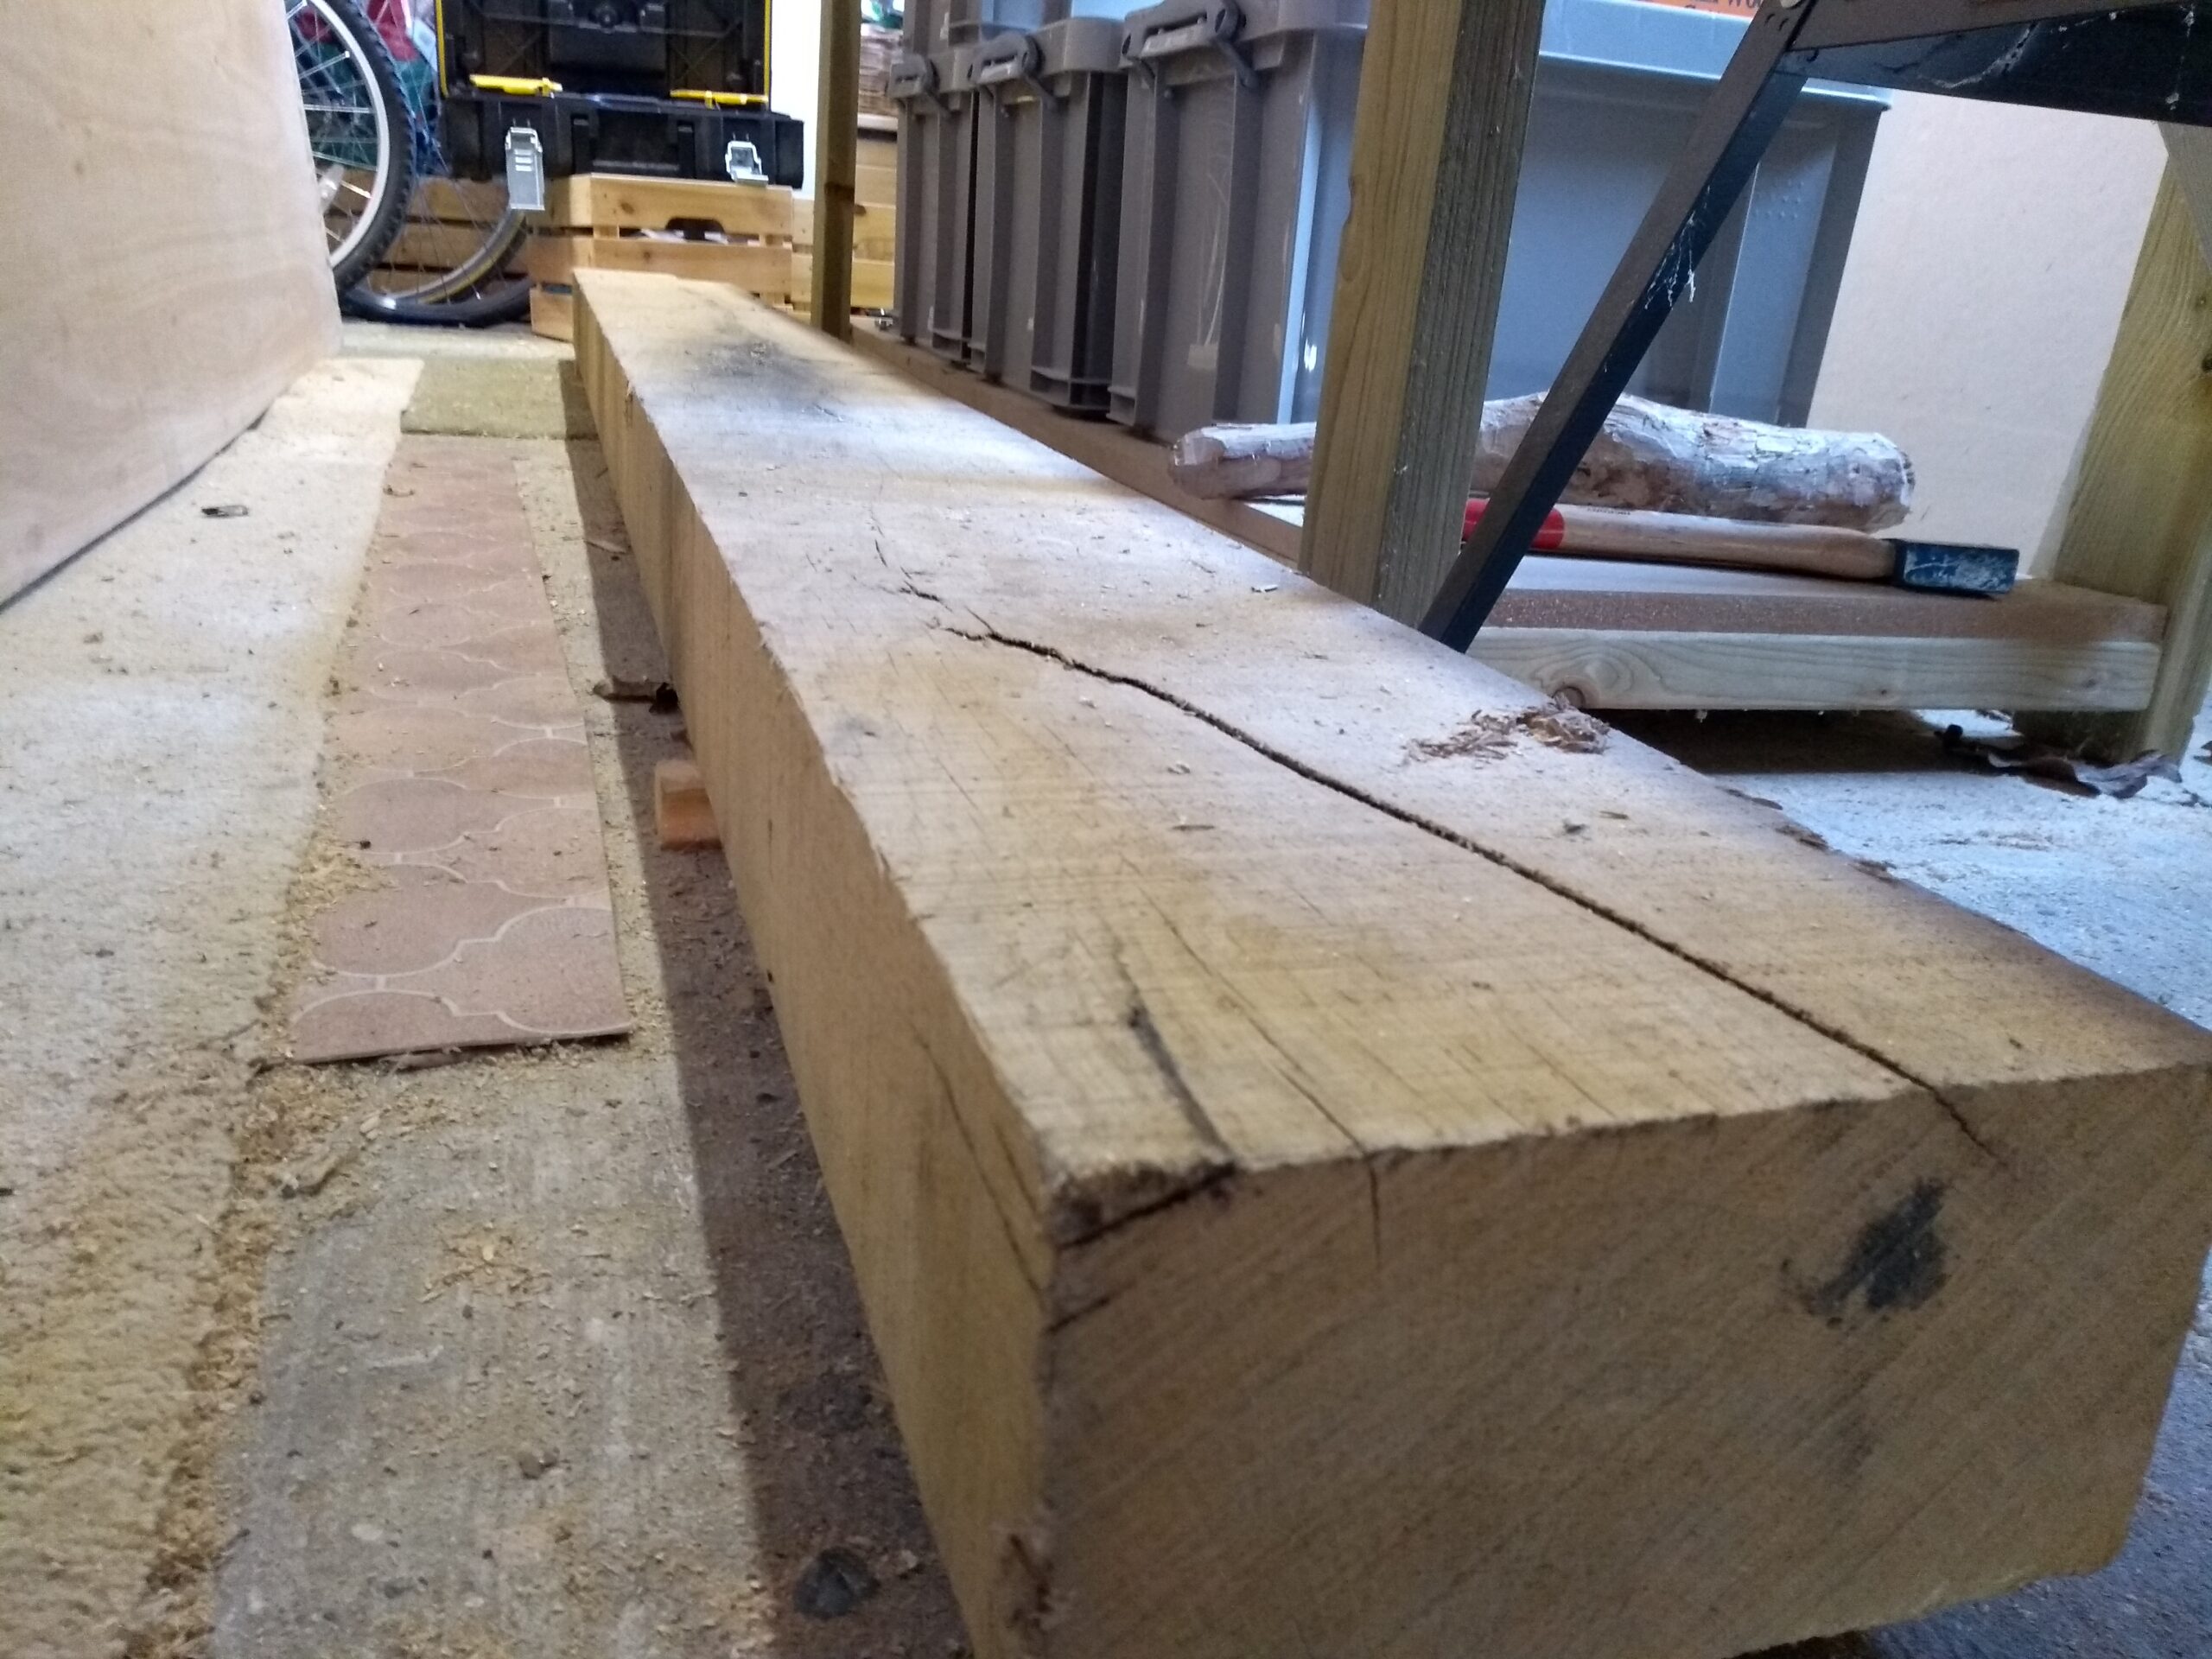
In front of the bench is this 2.4m oak sleeper. Small, handily sized bits of wood, especially hardwood, are bloody pricey, so it’s better to buy timber in whopping great lumps like this that you can’t lift on your own and that you can spend months tripping over until it’s dry enough to be usable.
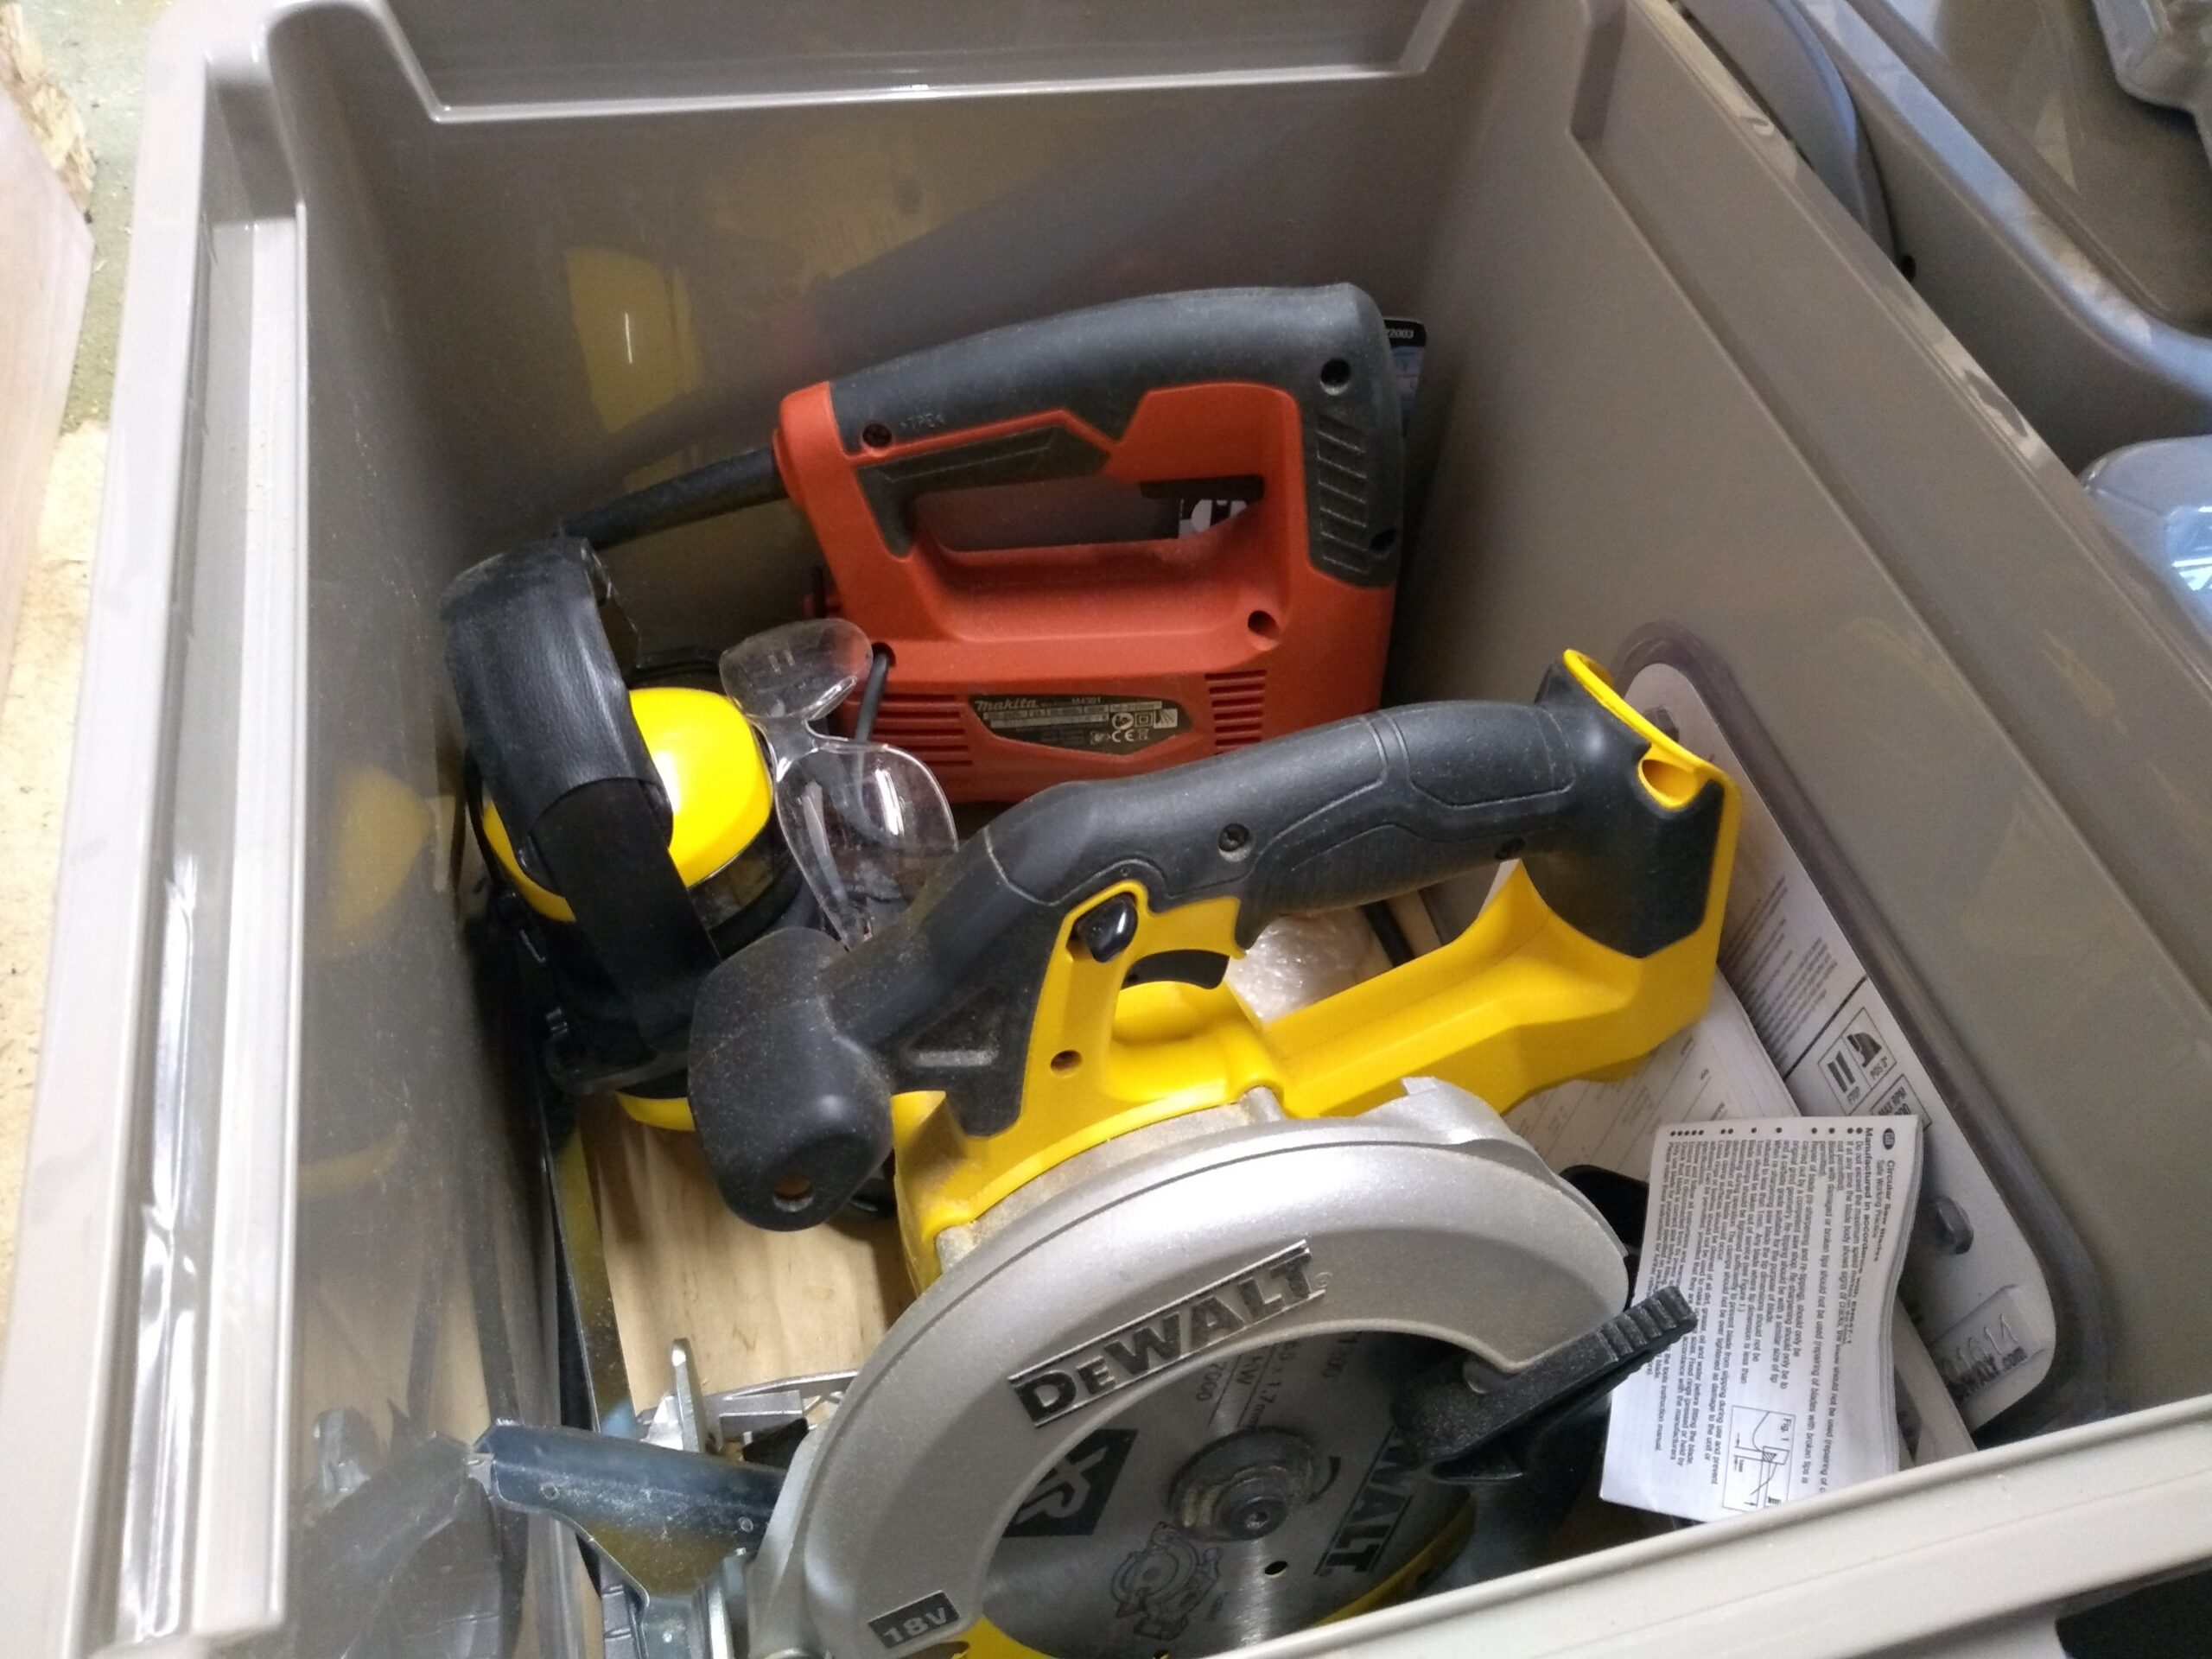

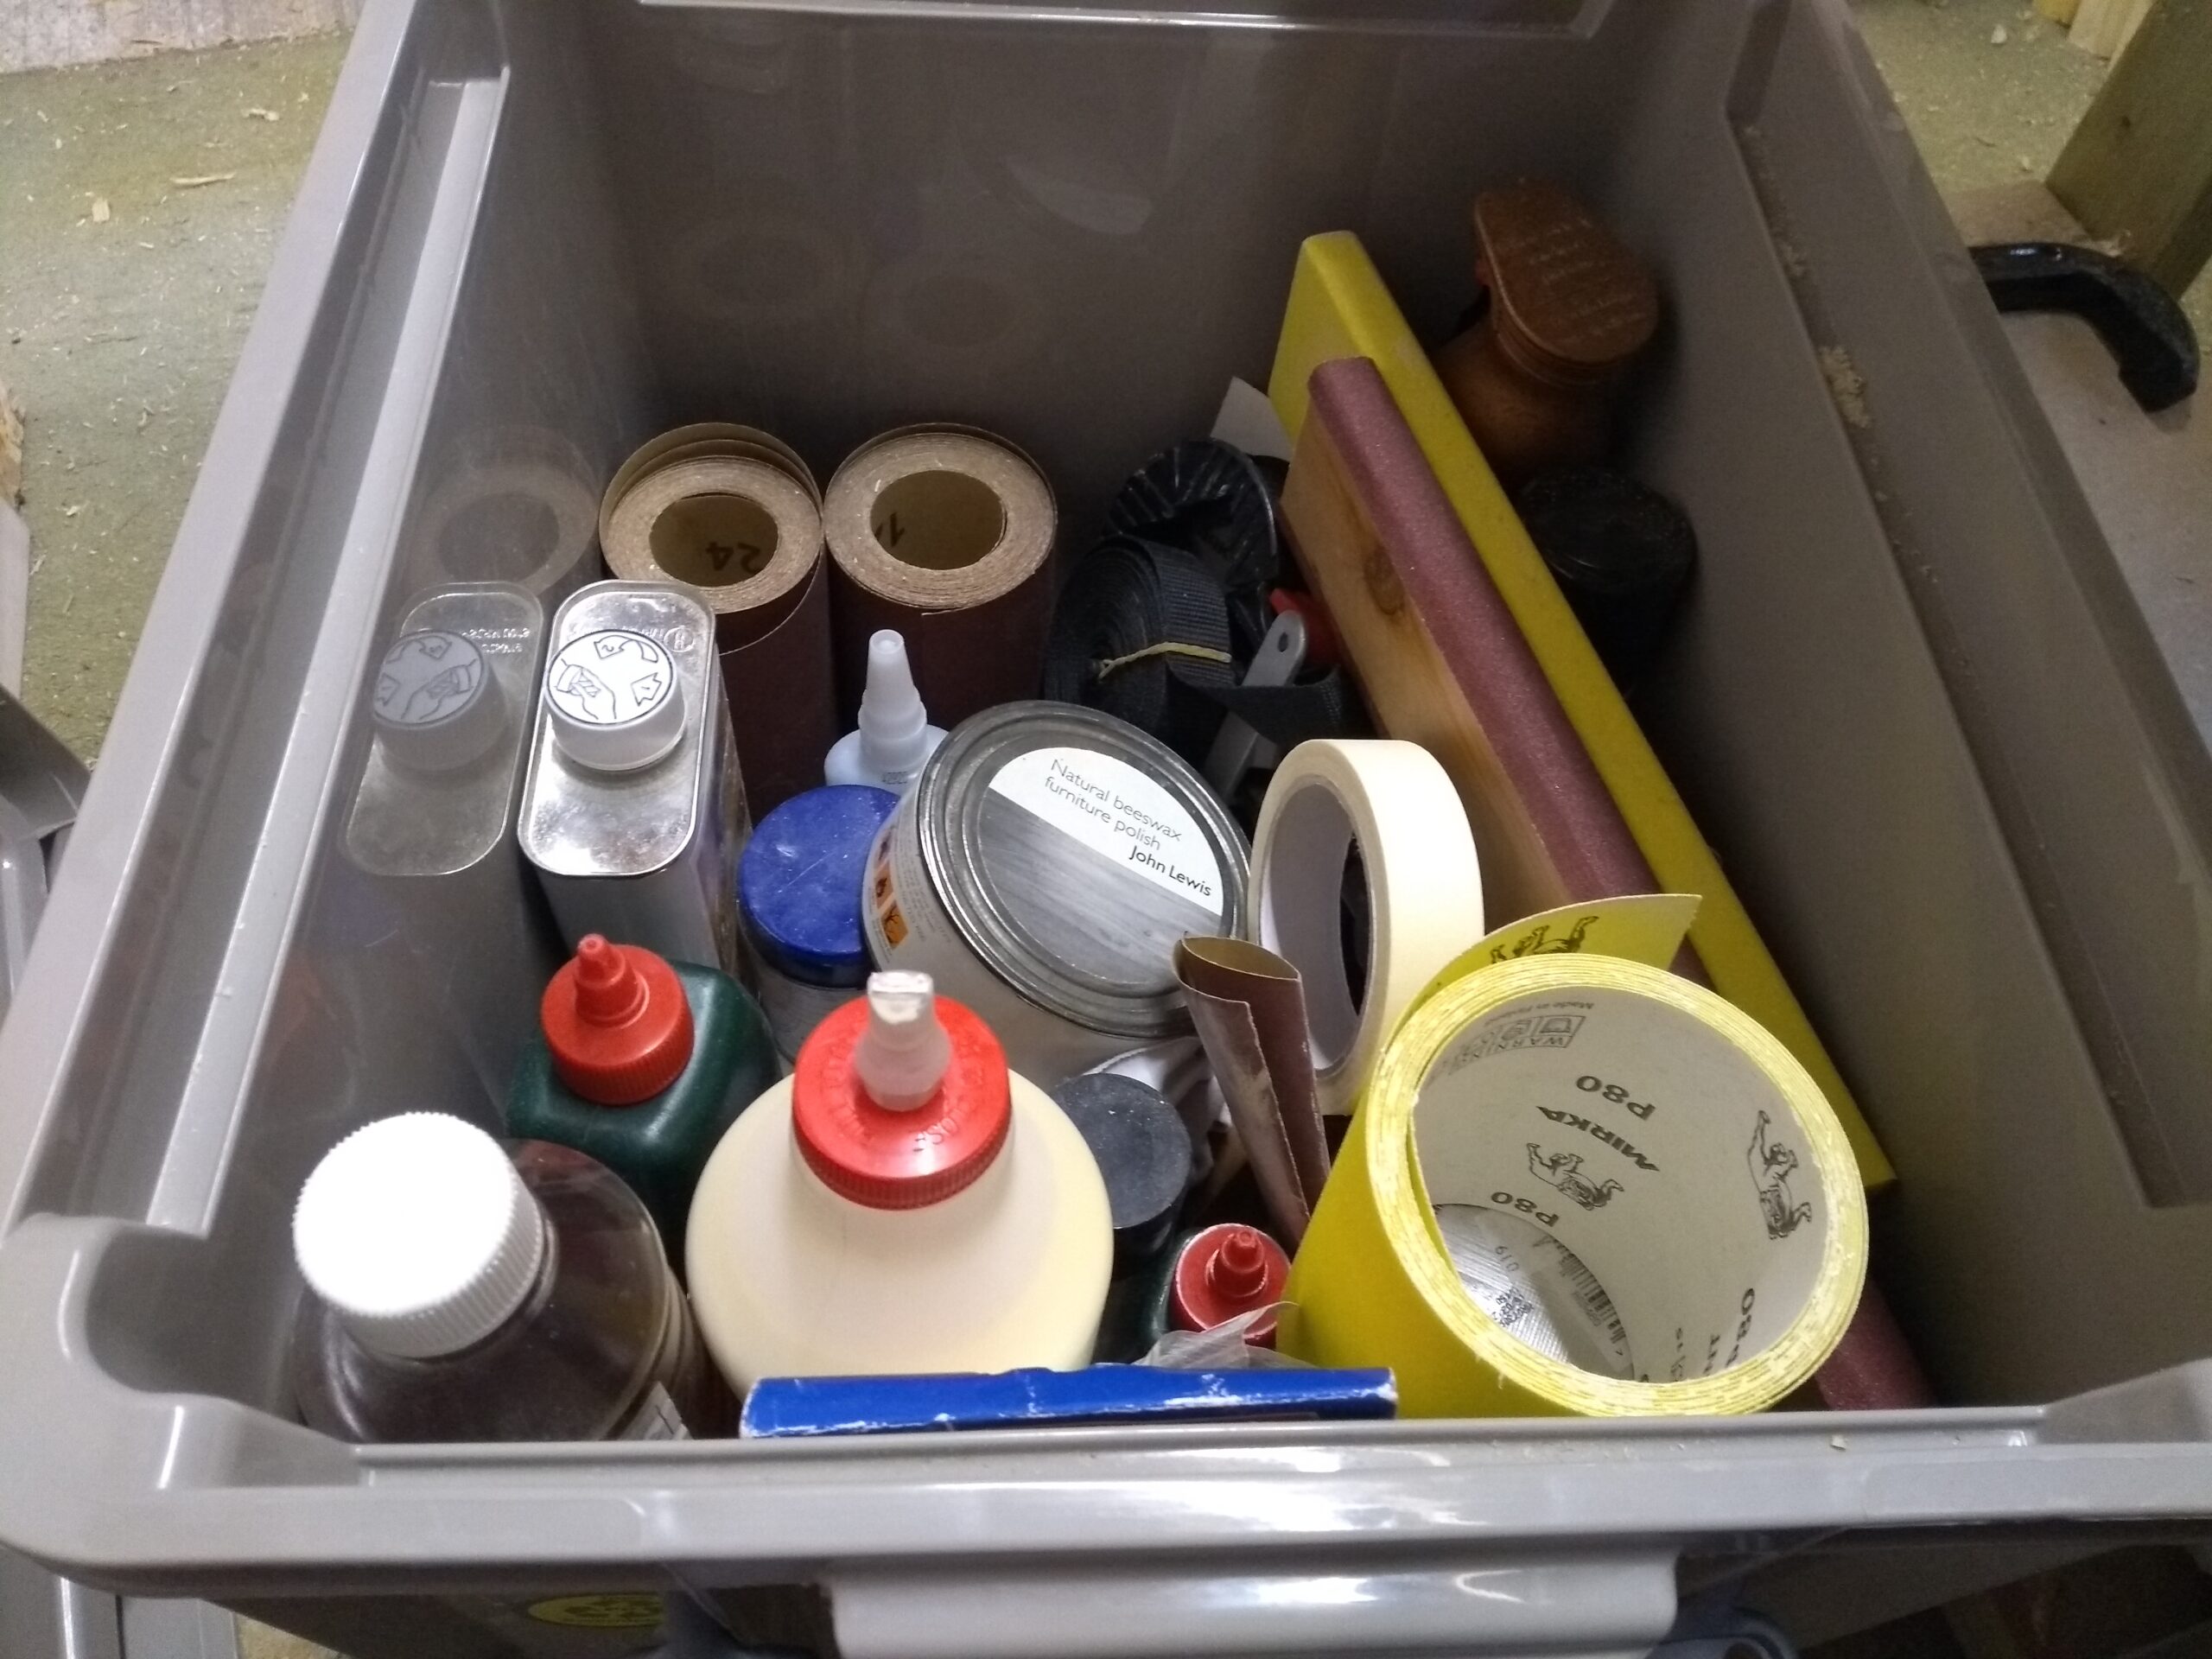

Under the bench there is space for six 35-litre Really Useful Boxes. These are good but are usually pretty expensive; I was lucky to get these ones heavily discounted. I have boxes for my circular saw and jigsaw, drill and router bits, planes, clamps, and all of my glues and sanding and finishing gear. I don’t know why the axe and the oak maul are there, I usually keep those in the shed.
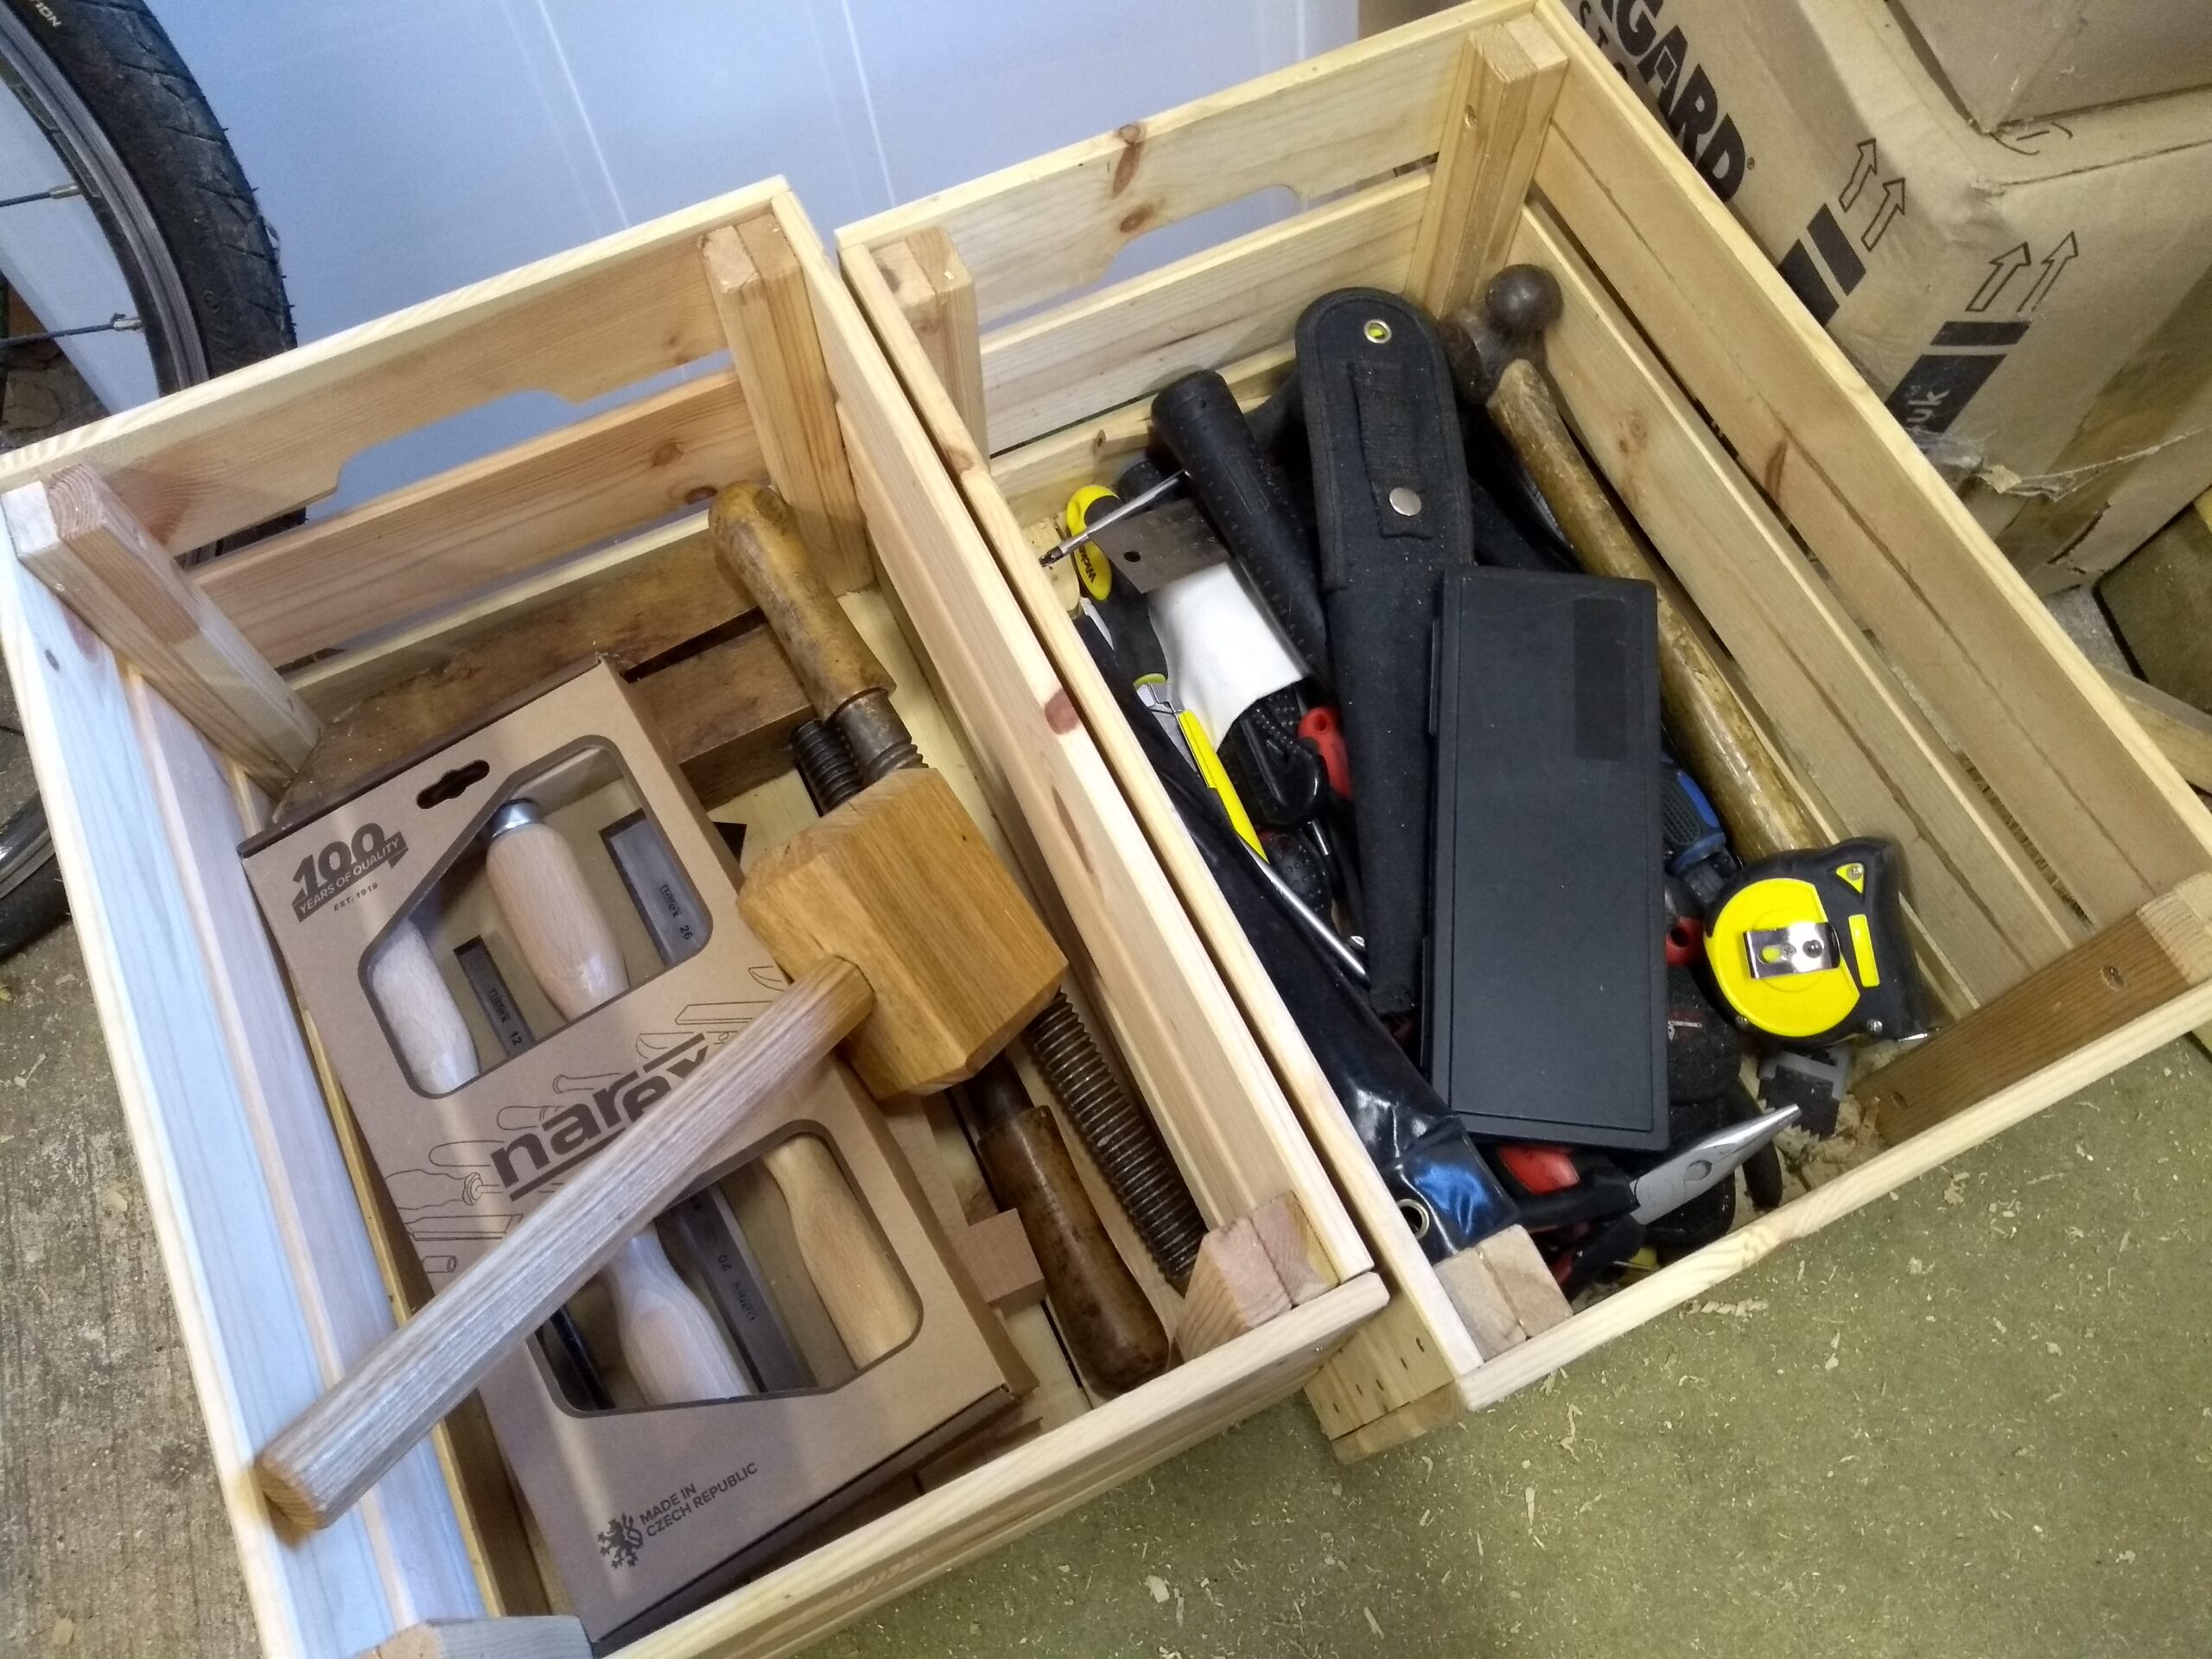
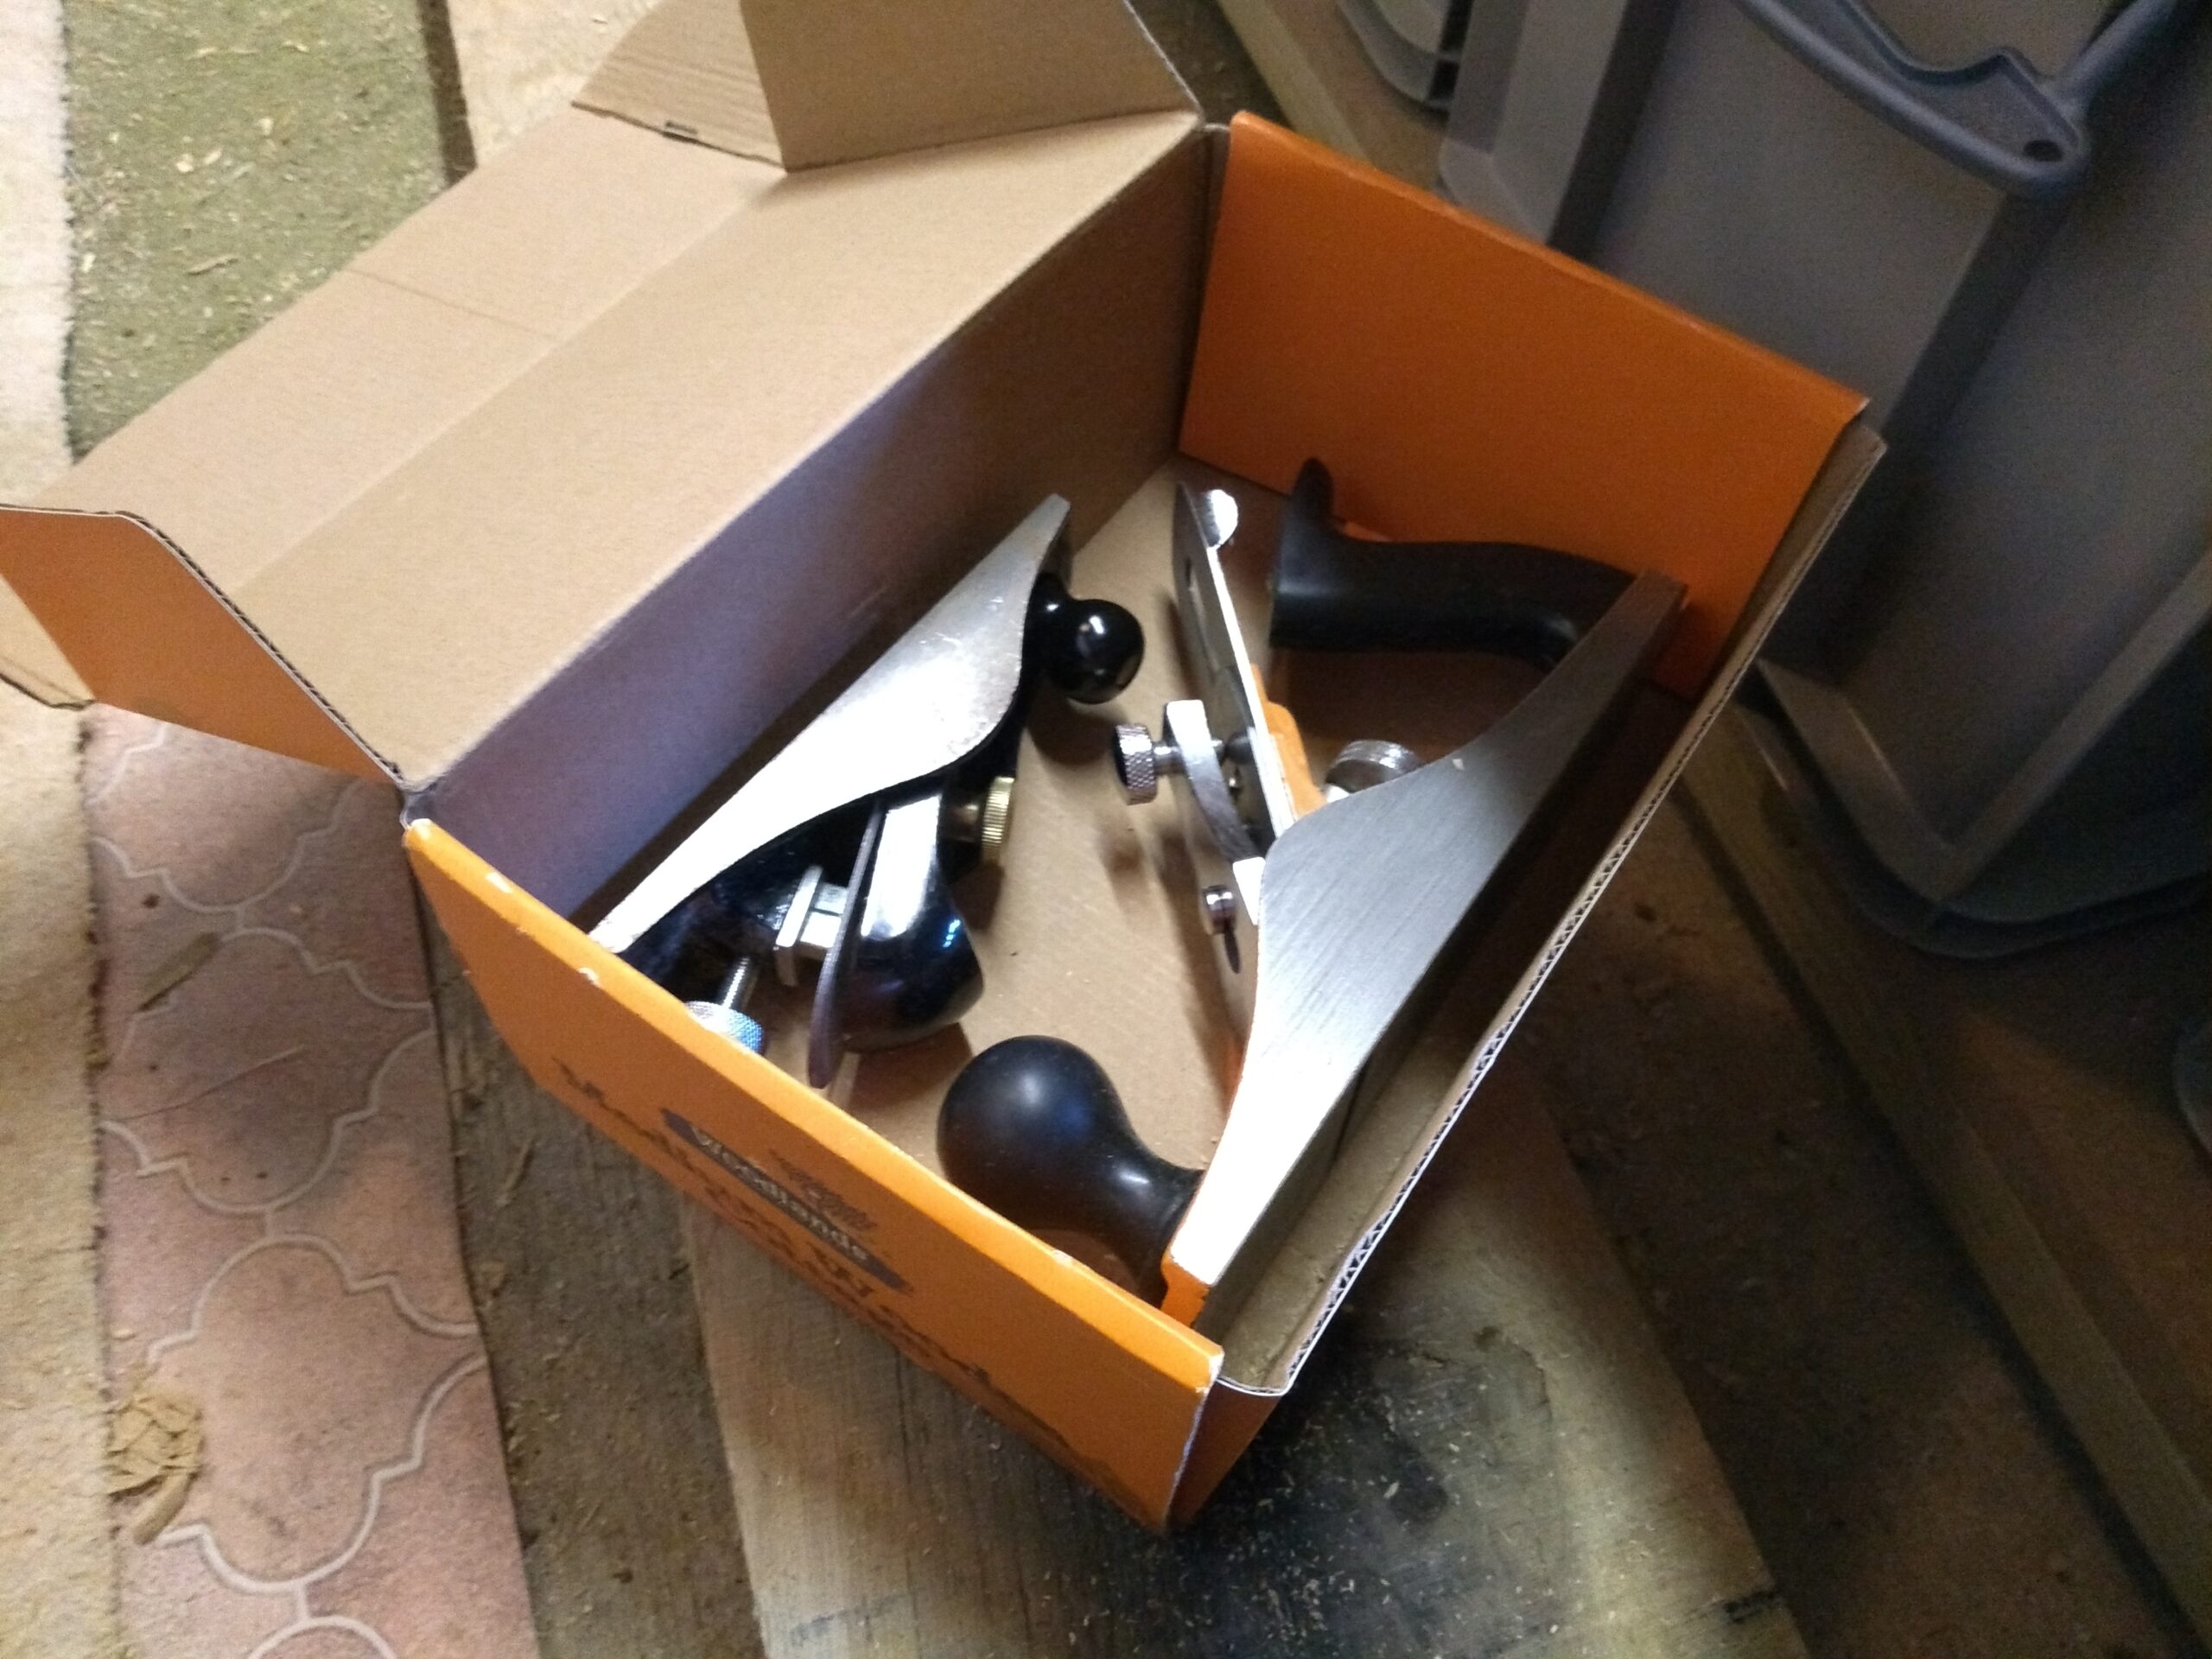
I have a couple of crates of other tools, including my lovely new chisels, my antique screw clamp, and one of the mallets I made. This is not a good way to store tools, so I’m working on a design for a dutch tool chest that will hold everything I commonly use, and which I can move around to keep it within reach.
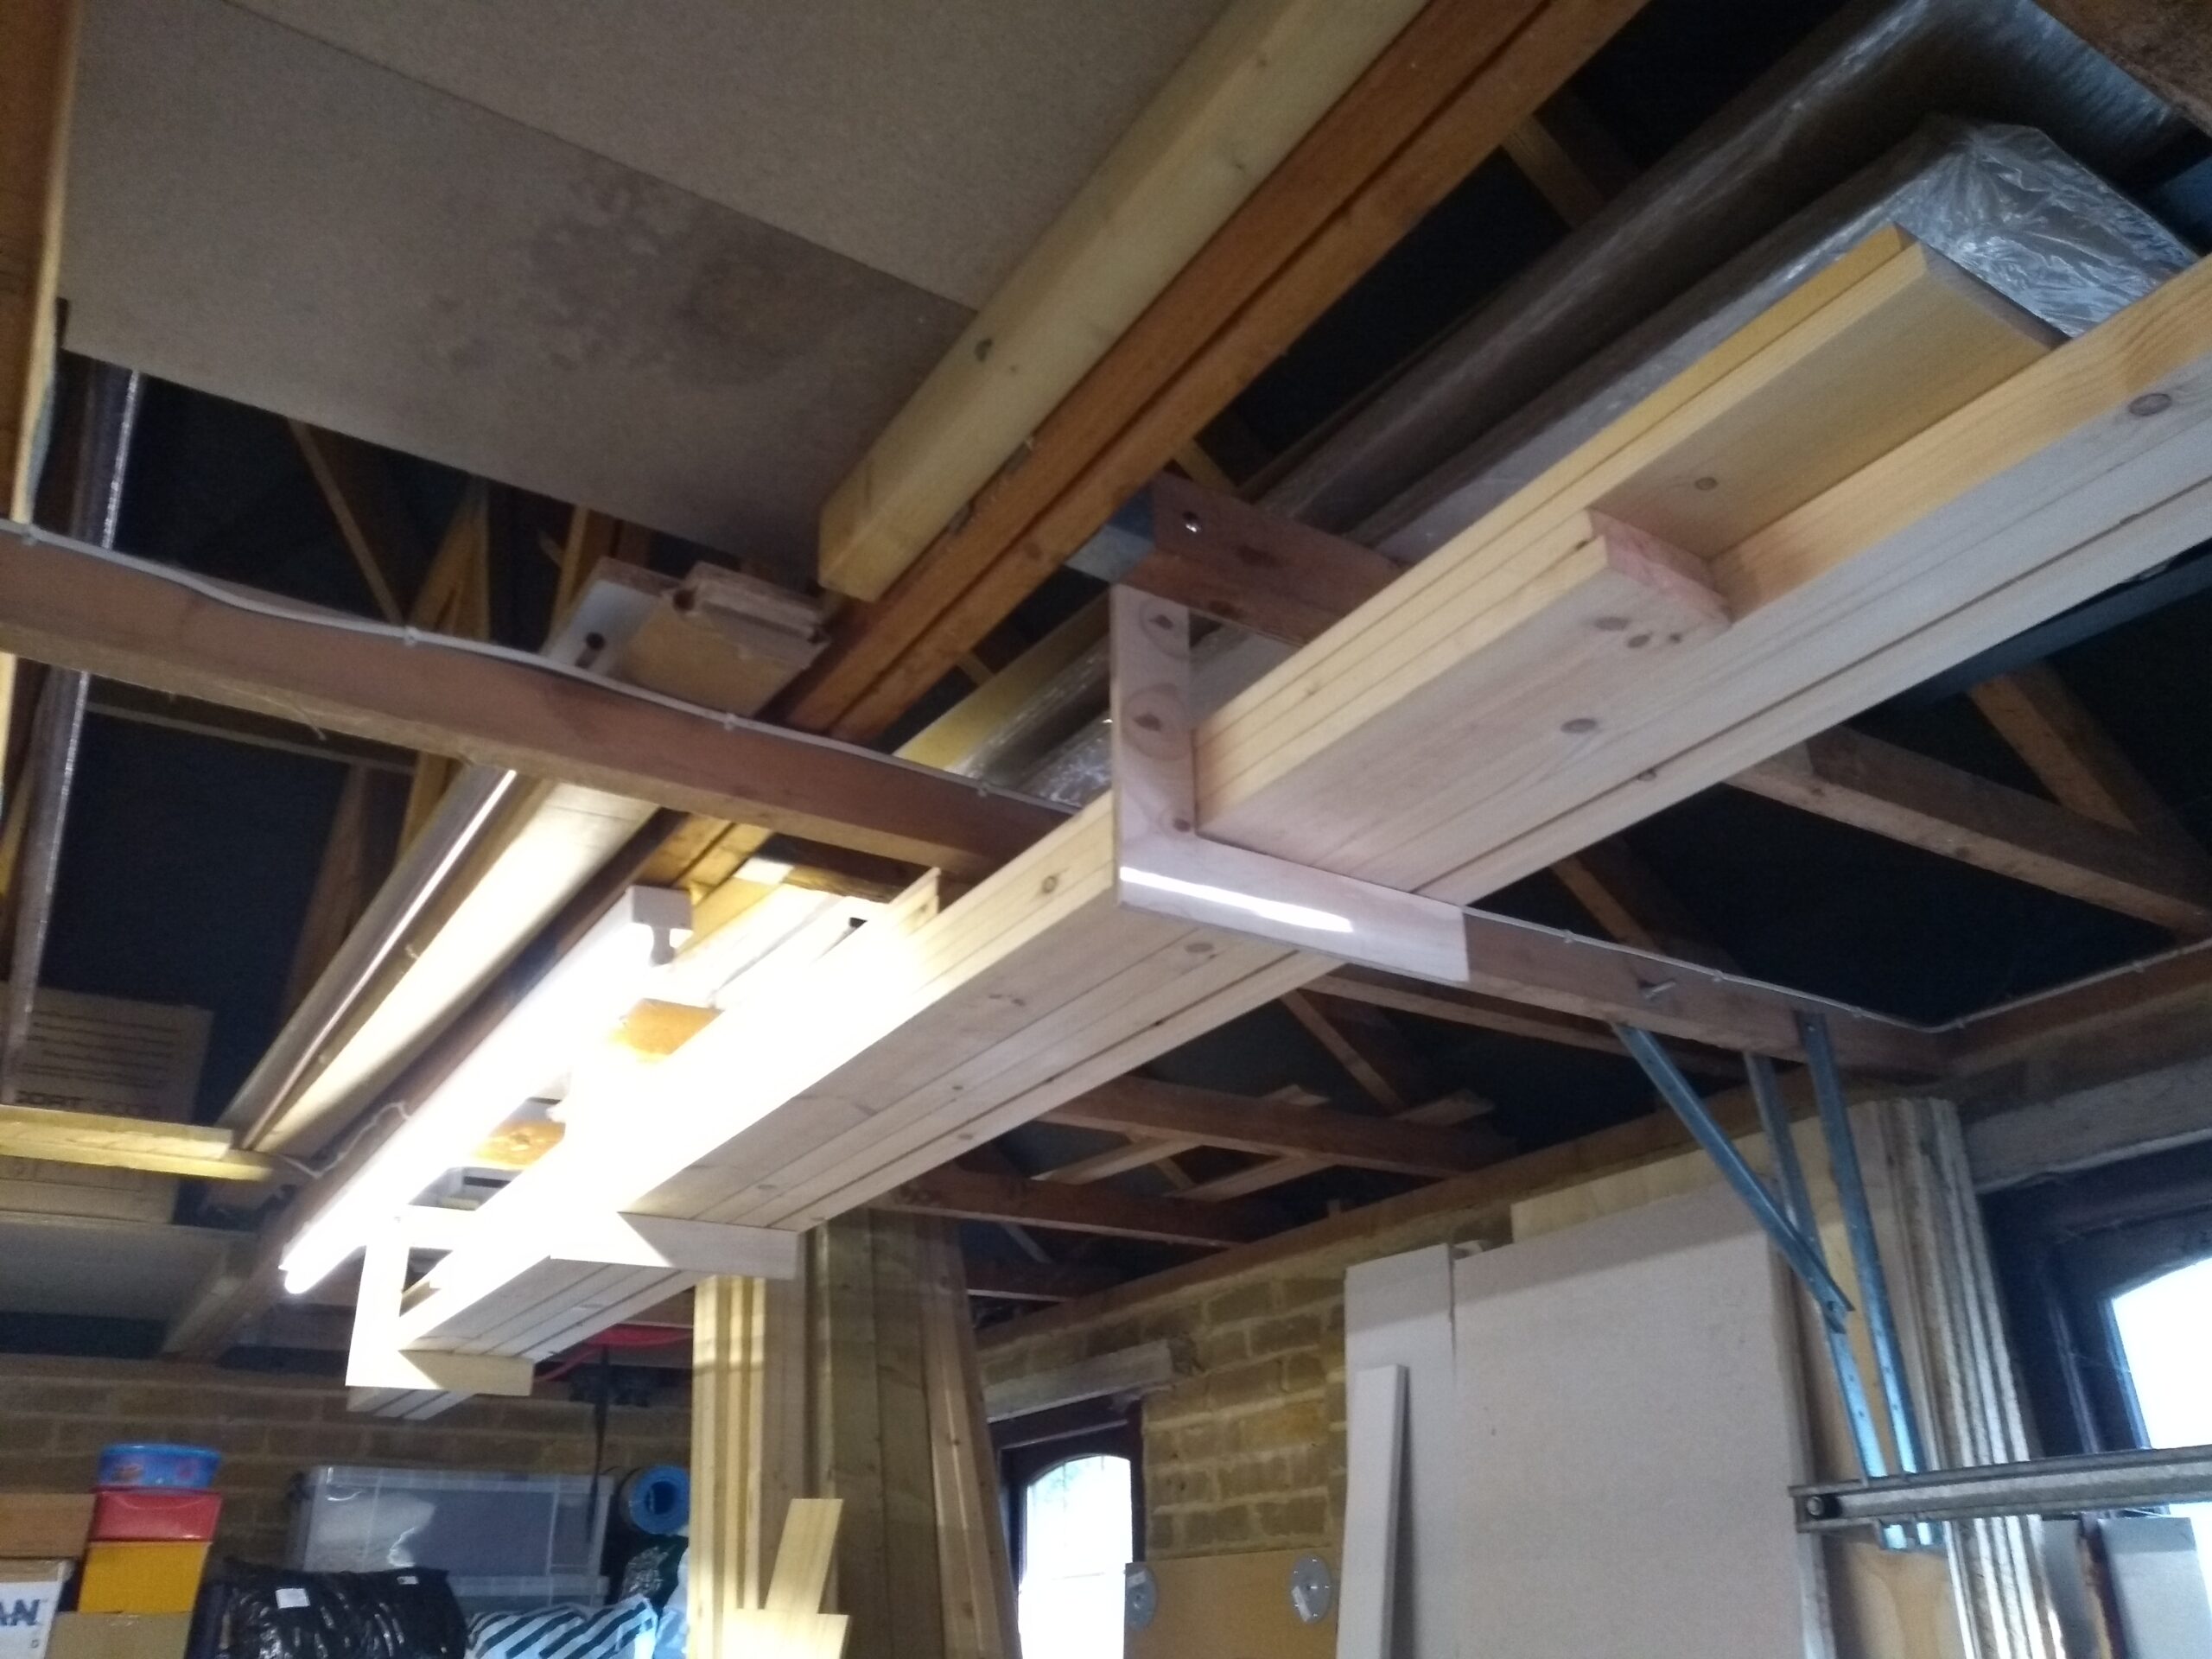
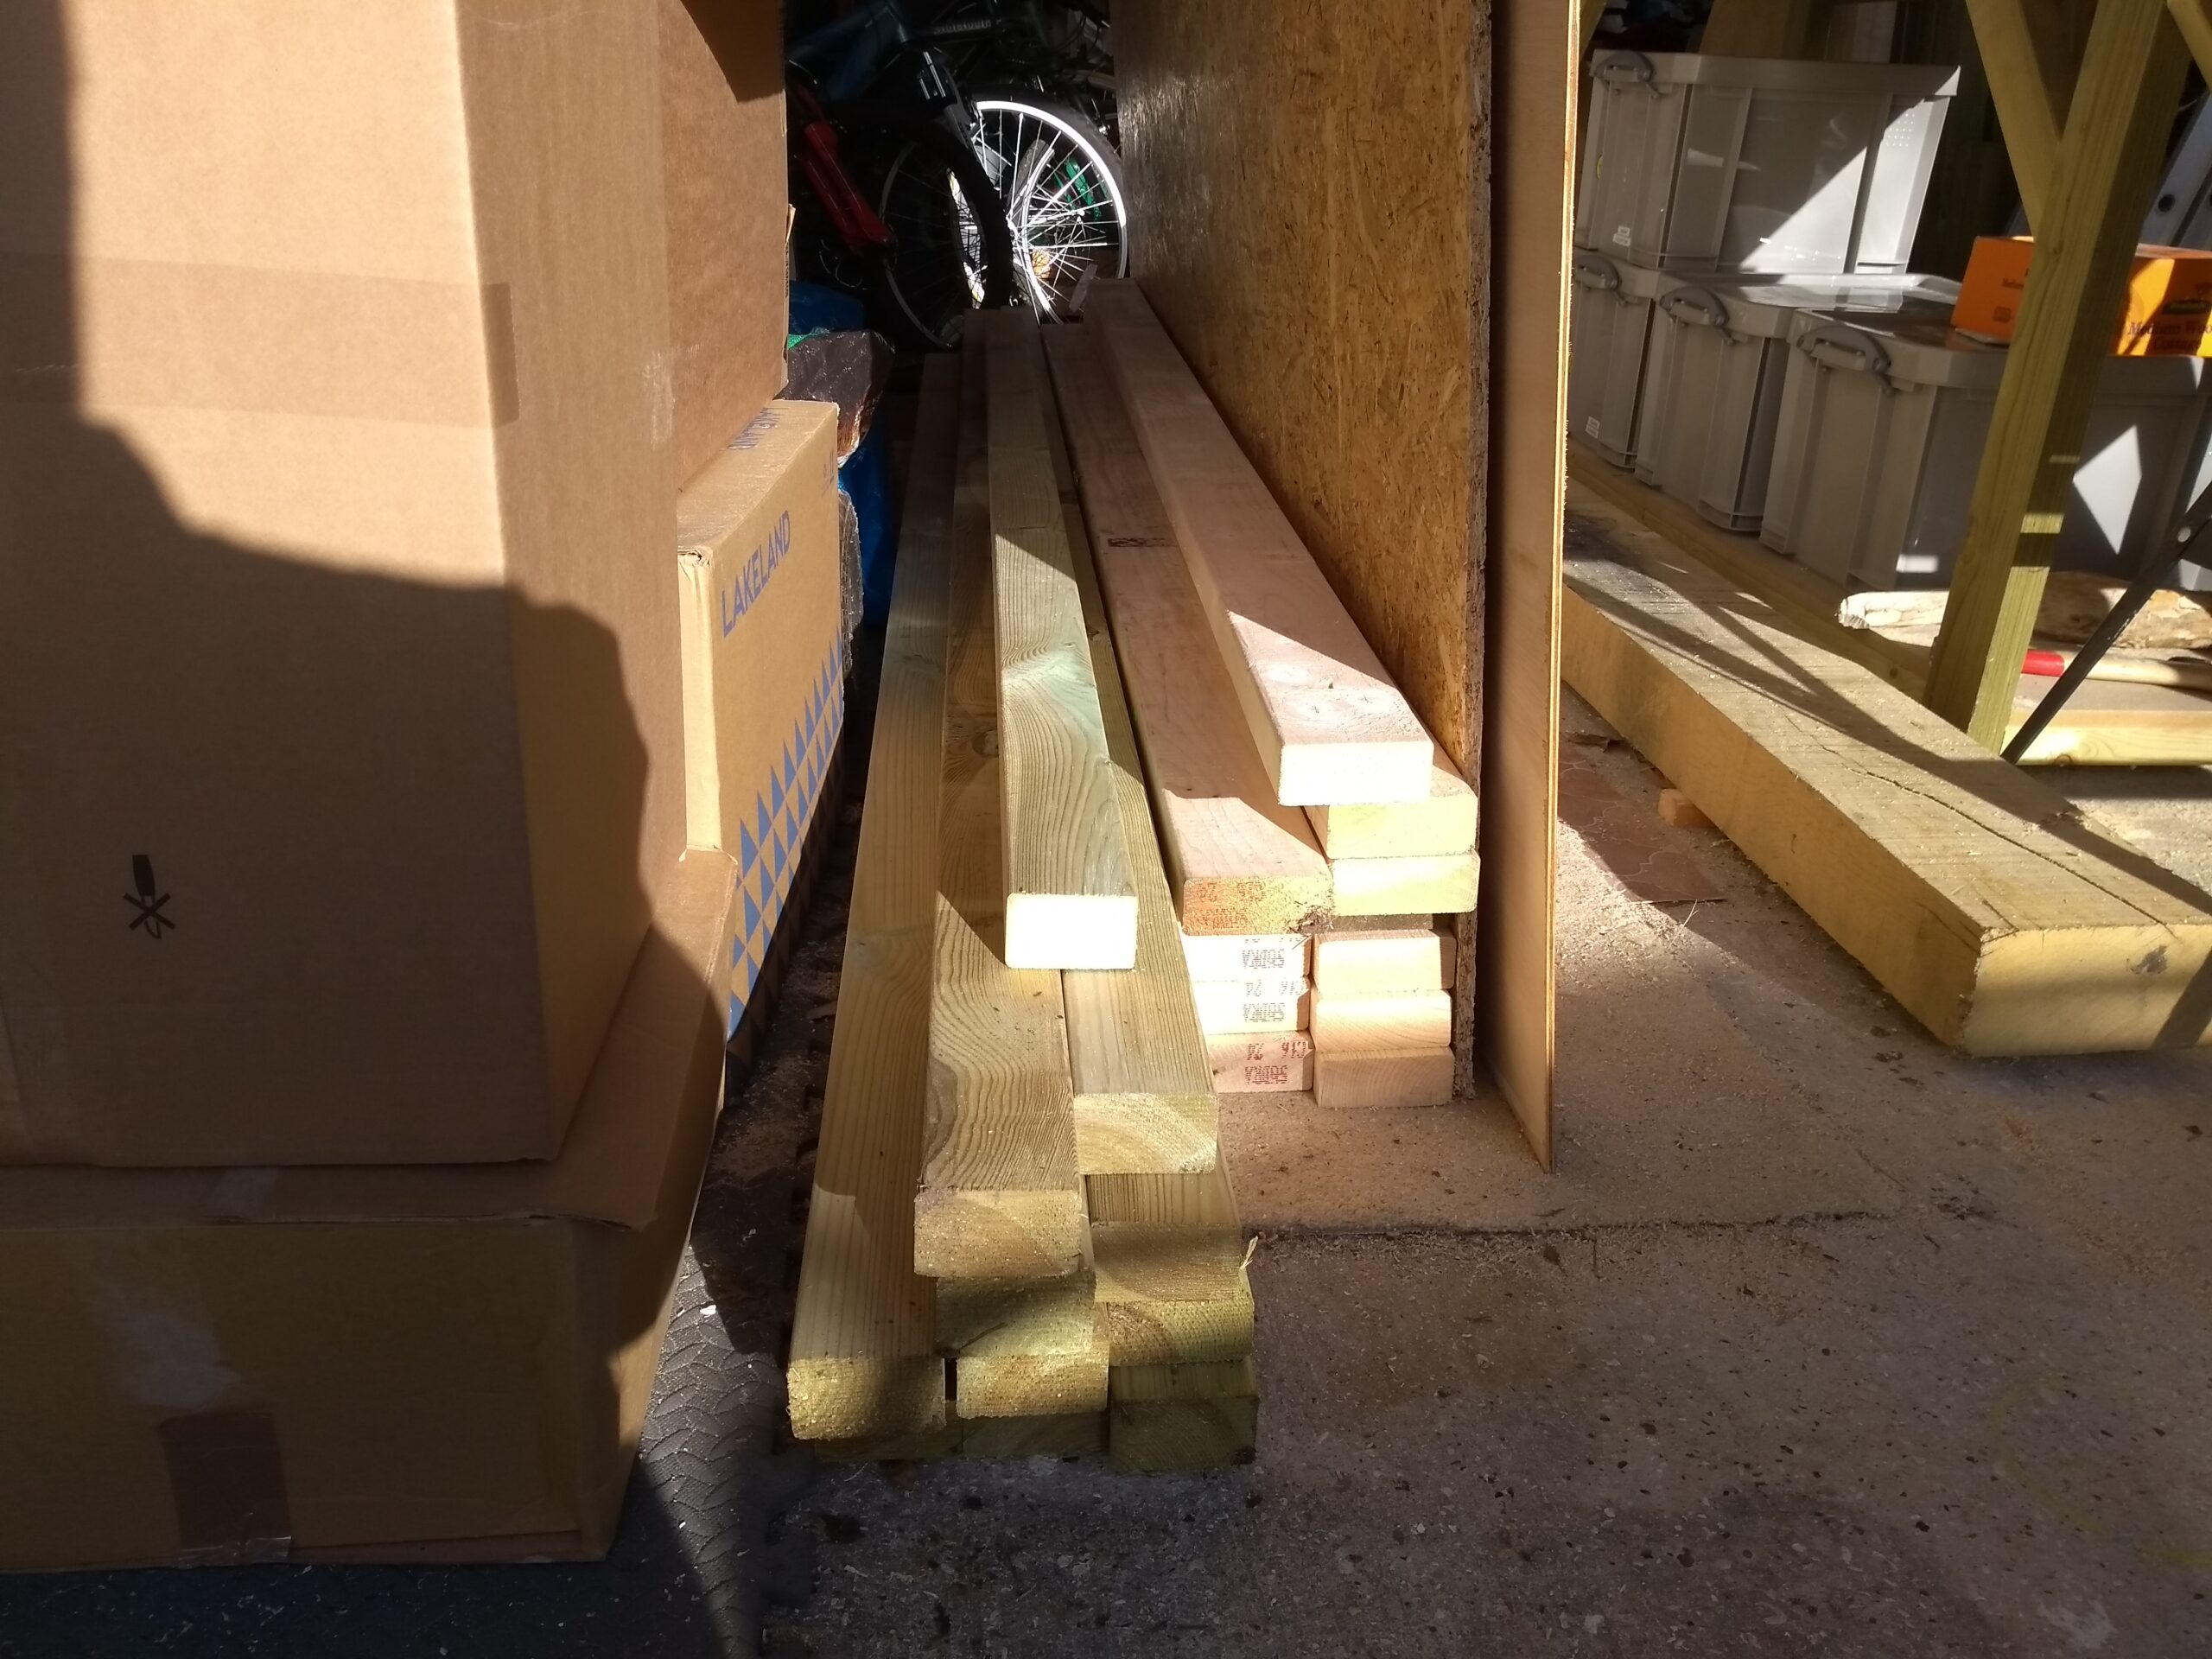
I hung brackets from the joists so I could get some of my stock up and out of the way. Here I have some planed redwood boards that will become my tool chest. On the floor I have a stock of cheap construction timber: treated 2x3s for the garage shelving, untreated 2x4s for my low workbench.
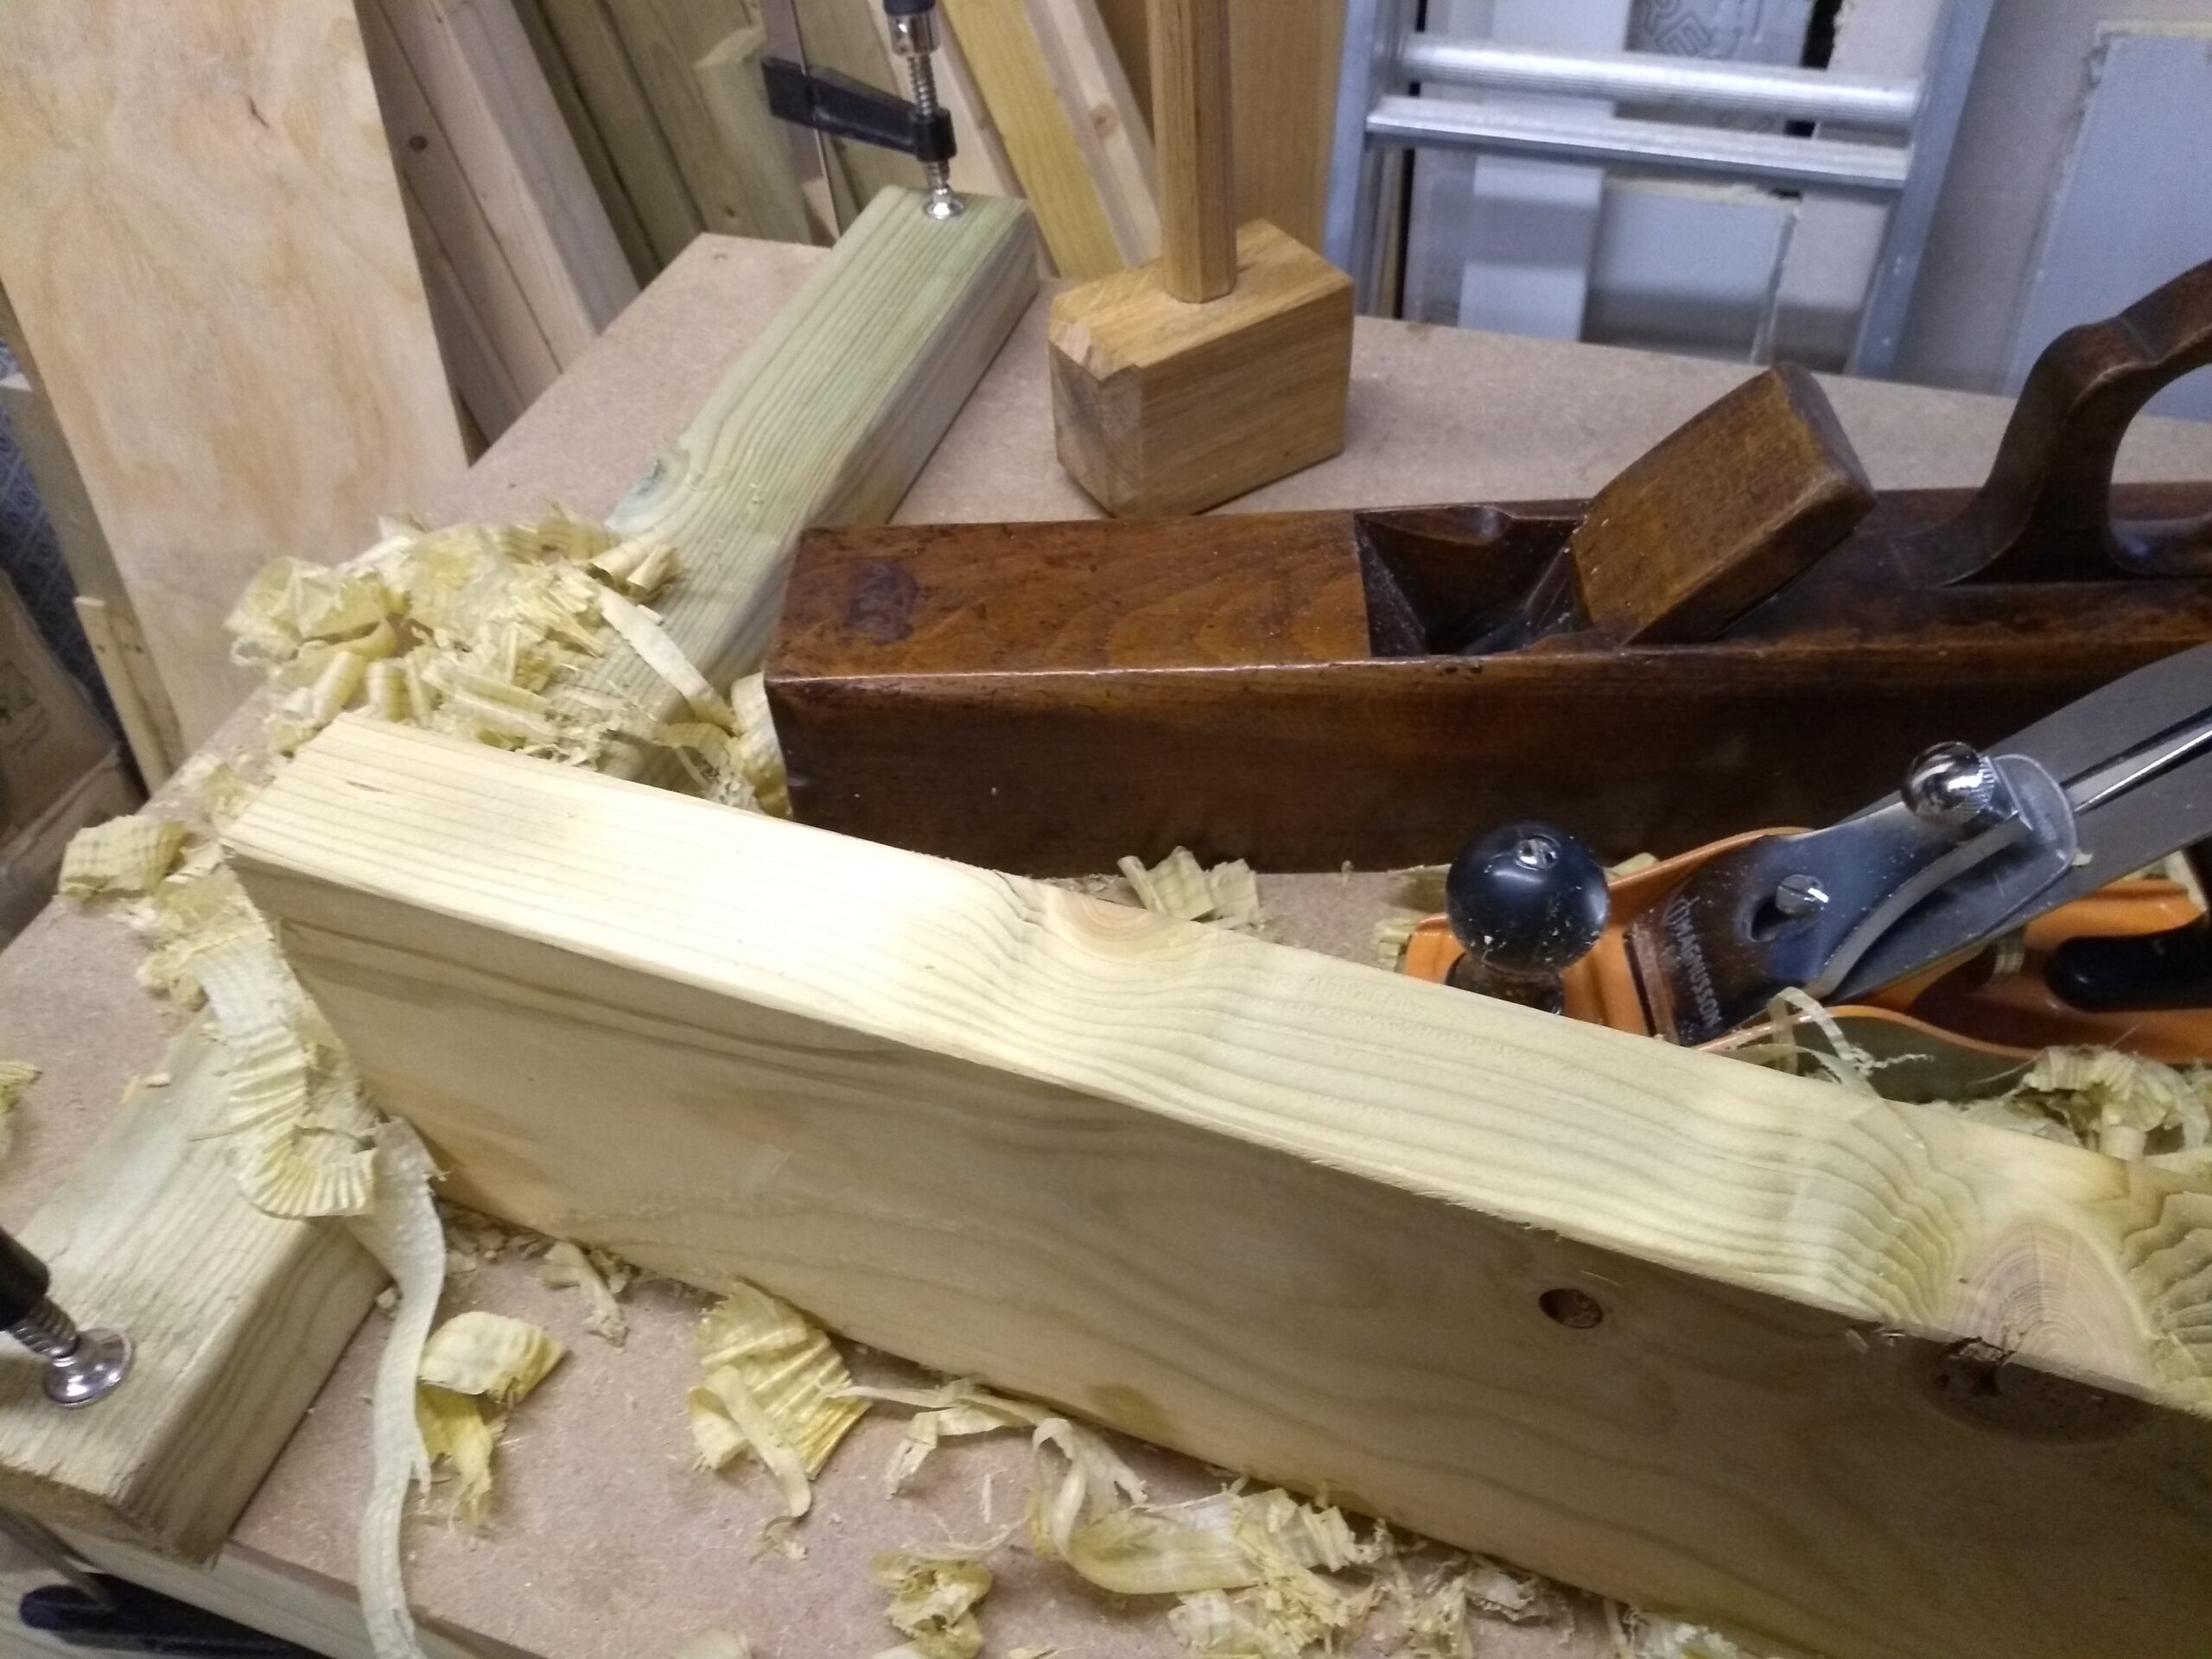
And here is a shot of my bench in use. I clamped a piece across the bench as a planing stop, and I’m using this knotty offcut from a rafter to check the action of my new wooden jointer plane, comparing it with my cheap No.4 smoothing plane. It’s looking good but a bit more fettling is required to get it perfect. I aim to use this plane to joint the edges of the some reclaimed pine scaffolding boards, and glue them edgewise to make a table top that Susan can use on trestles when re-enacting.

Mess is a problem. Mostly my hobby seems to be sweeping up. With this set of hose adapters I can hook up Hetty to the dust ports on almost all of my power tools, and that helps a lot. She’ll catch about 95% of the dust from this mitre saw. On a dry day I can lift my workbench onto dollies and wheel it out onto the drive, and give the space a proper sweep out.
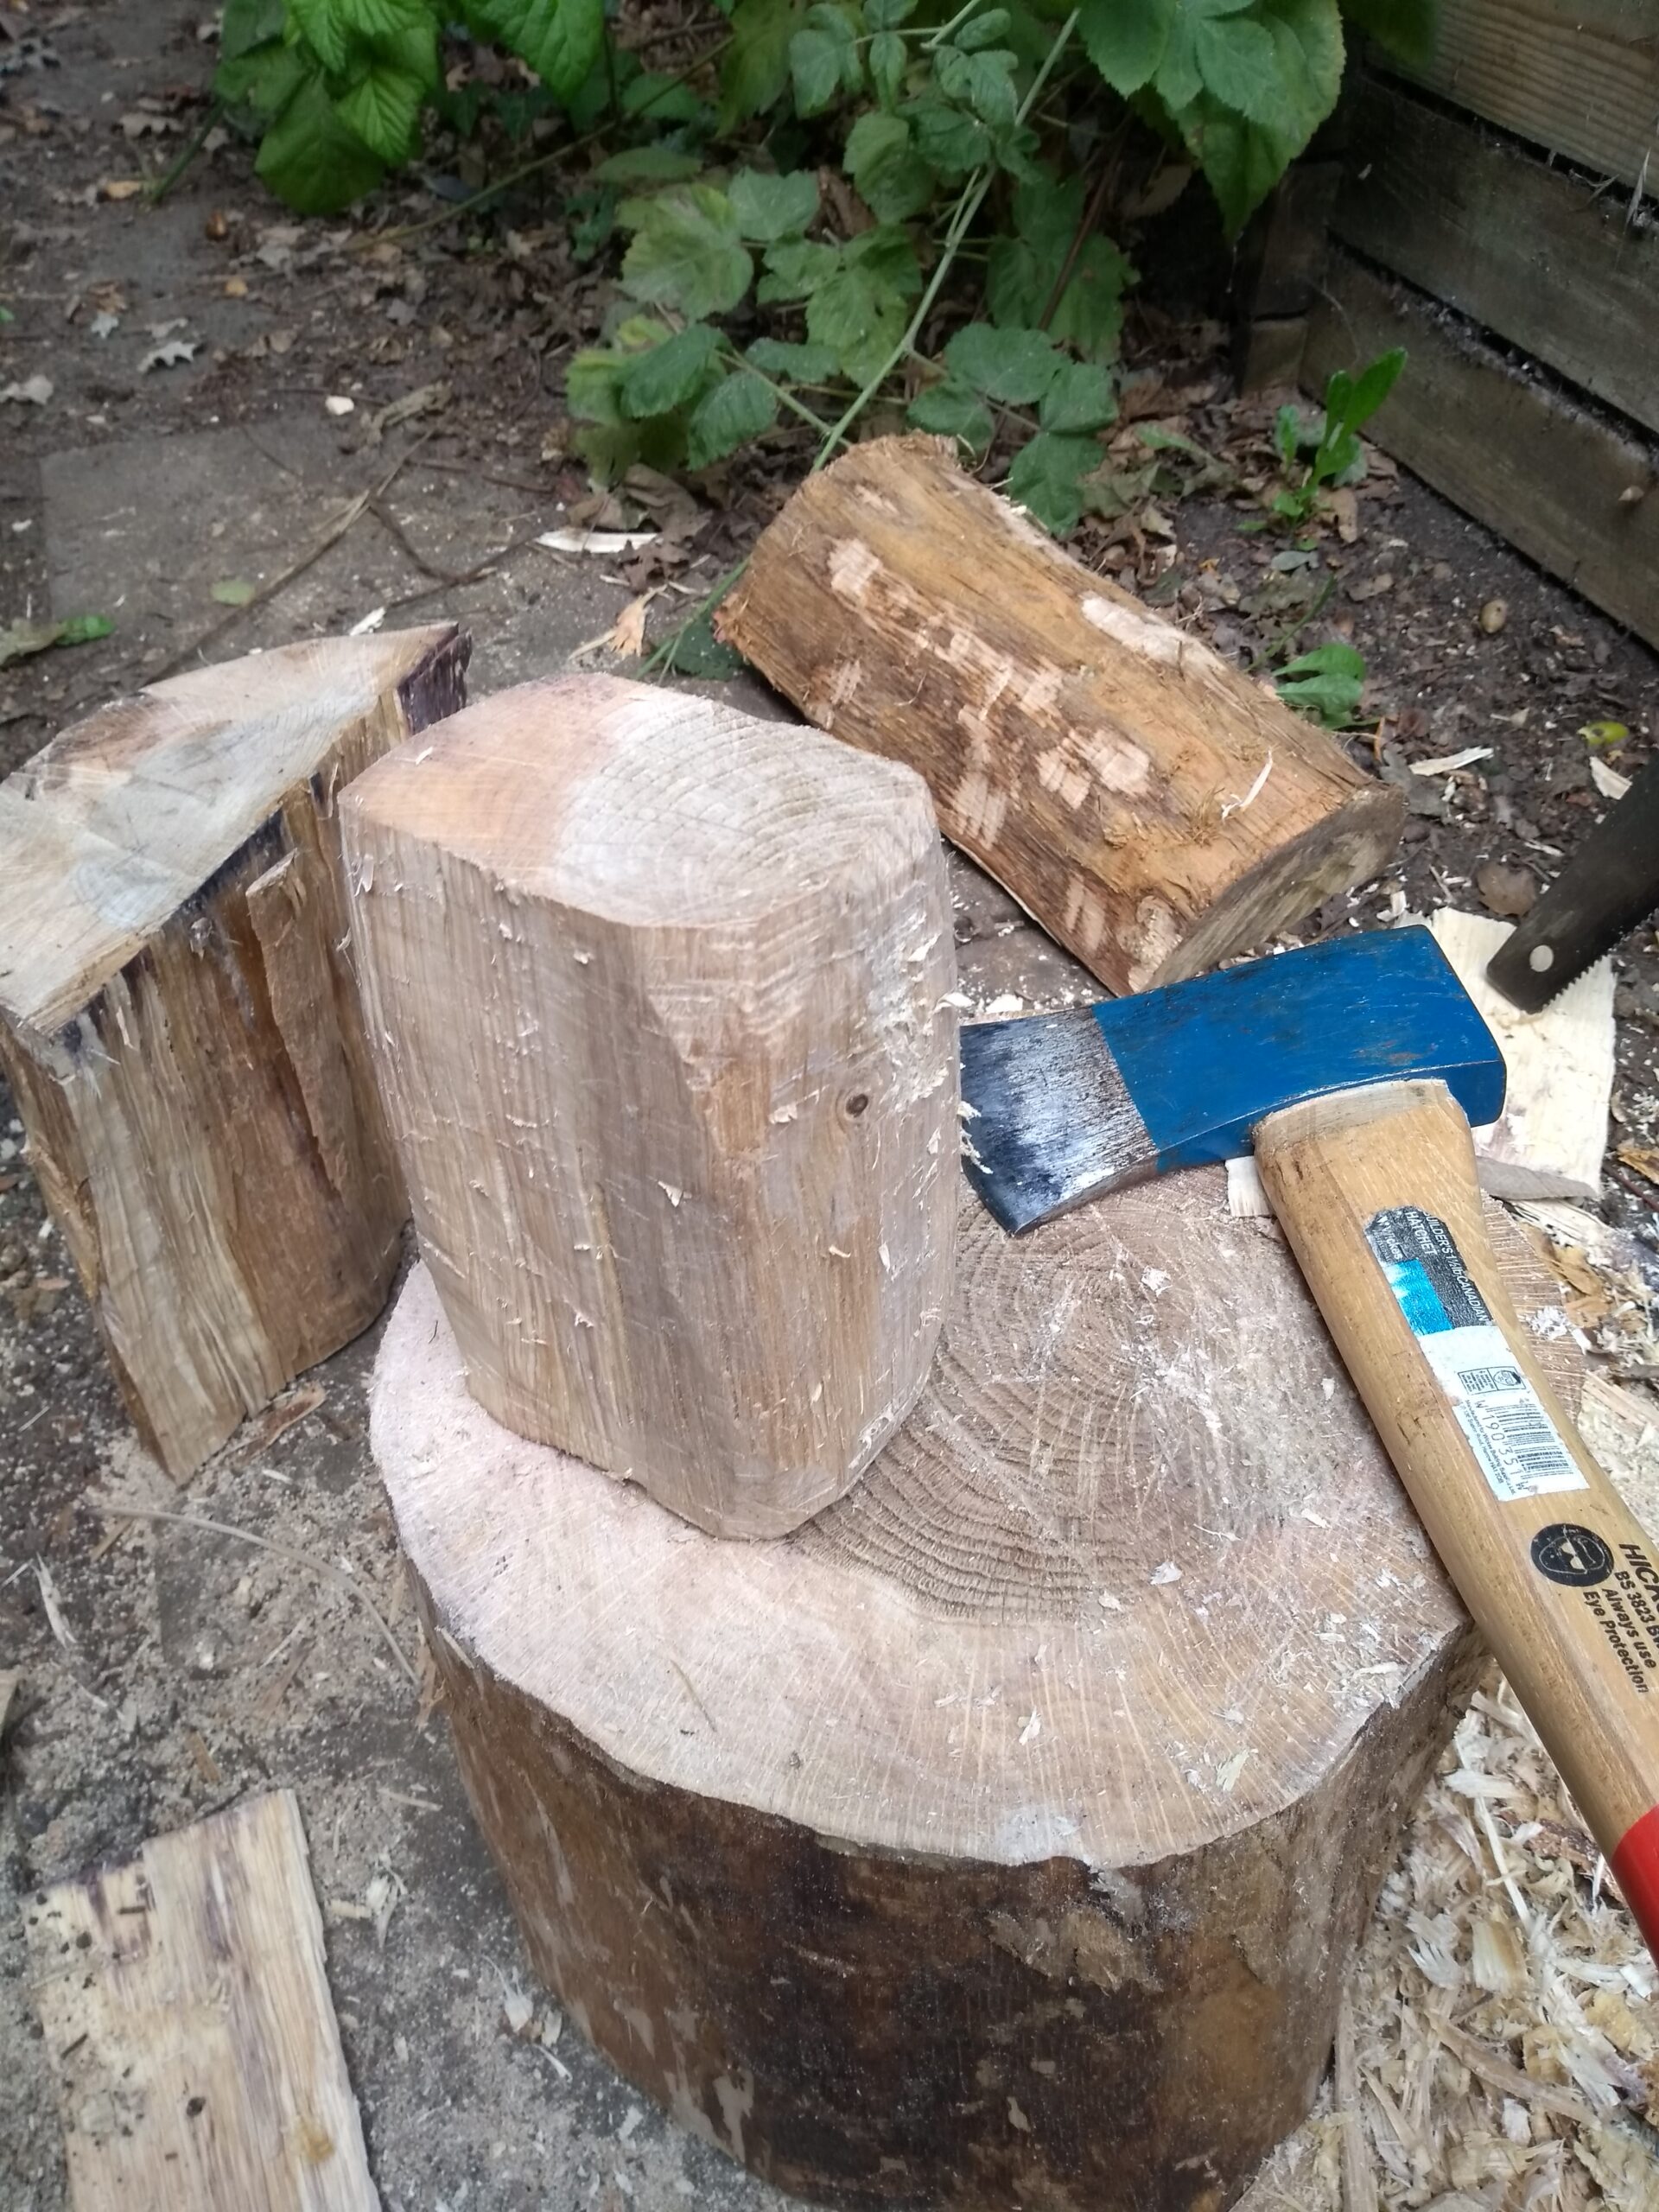
Inspired by YouTuber Rex Krueger’s terrific Woodwork for Humans series, I set myself a challenge: using just three simple hand tools, make a fourth. I need a good heavy mallet for some upcoming projects. Can I make one with just an axe, a saw and a hand drill?
tl;dr: Yes, kind of, but I didn’t like the way it turned out. My second attempt was much better, when I also used a chisel and a block plane.
This summer a storm brought down most of the oak tree behind our house, so before the council could organise a team to clear away the branches I nipped out with my saw and helped myself to a few logs. My only axe is rather small, but by pounding on it with an arm-thick branch I was able to split a nice big log, and once the first cut is made a lot of the tension in the wood is released and subsequent cuts are much easier.
The very core of a log, the pith, is too prone to splitting to be used for anything but firewood, so I chose a log that had the core off-centre, with a broad hunk of heartwood on one side. From this I split of a couple of roughly rectangular blocks, and spent an hour chipping one into shape with the axe. Then I drilled a mortise part-way through with an 25mm auger bit.
For the shaft I wanted some old well-seasoned hardwood, so I had to wait a few weeks for the Chiltern Wood Recycling Project to re-open after the lockdown, and I picked up a bit of oak beam, probably cut from door lintel.
In Rex’s video he shows how to shape a cylindrical tenon on the end of the shaft by splitting along the grain and then paring with the axe. Unfortunately the grain in my piece ran a little diagonally, making it really hard to keep the tenon straight. When I tested the fit the handle was quite wonky, and at this point still far too thick to hold comfortably.
Here I decided I had proved the concept but completing the job with just an axe was going to take too long. I sanded the mallet head smooth, just to check the look of it, decided I didn’t like it, and I started afresh.
I cut a new head, bigger, rougher and more rectangular than the first, which I think looks better. I cut a fresh tenon on the shaft using a chisel, then with a block plane I reduced the thickness and gave the handle a roughly hexagonal shape.
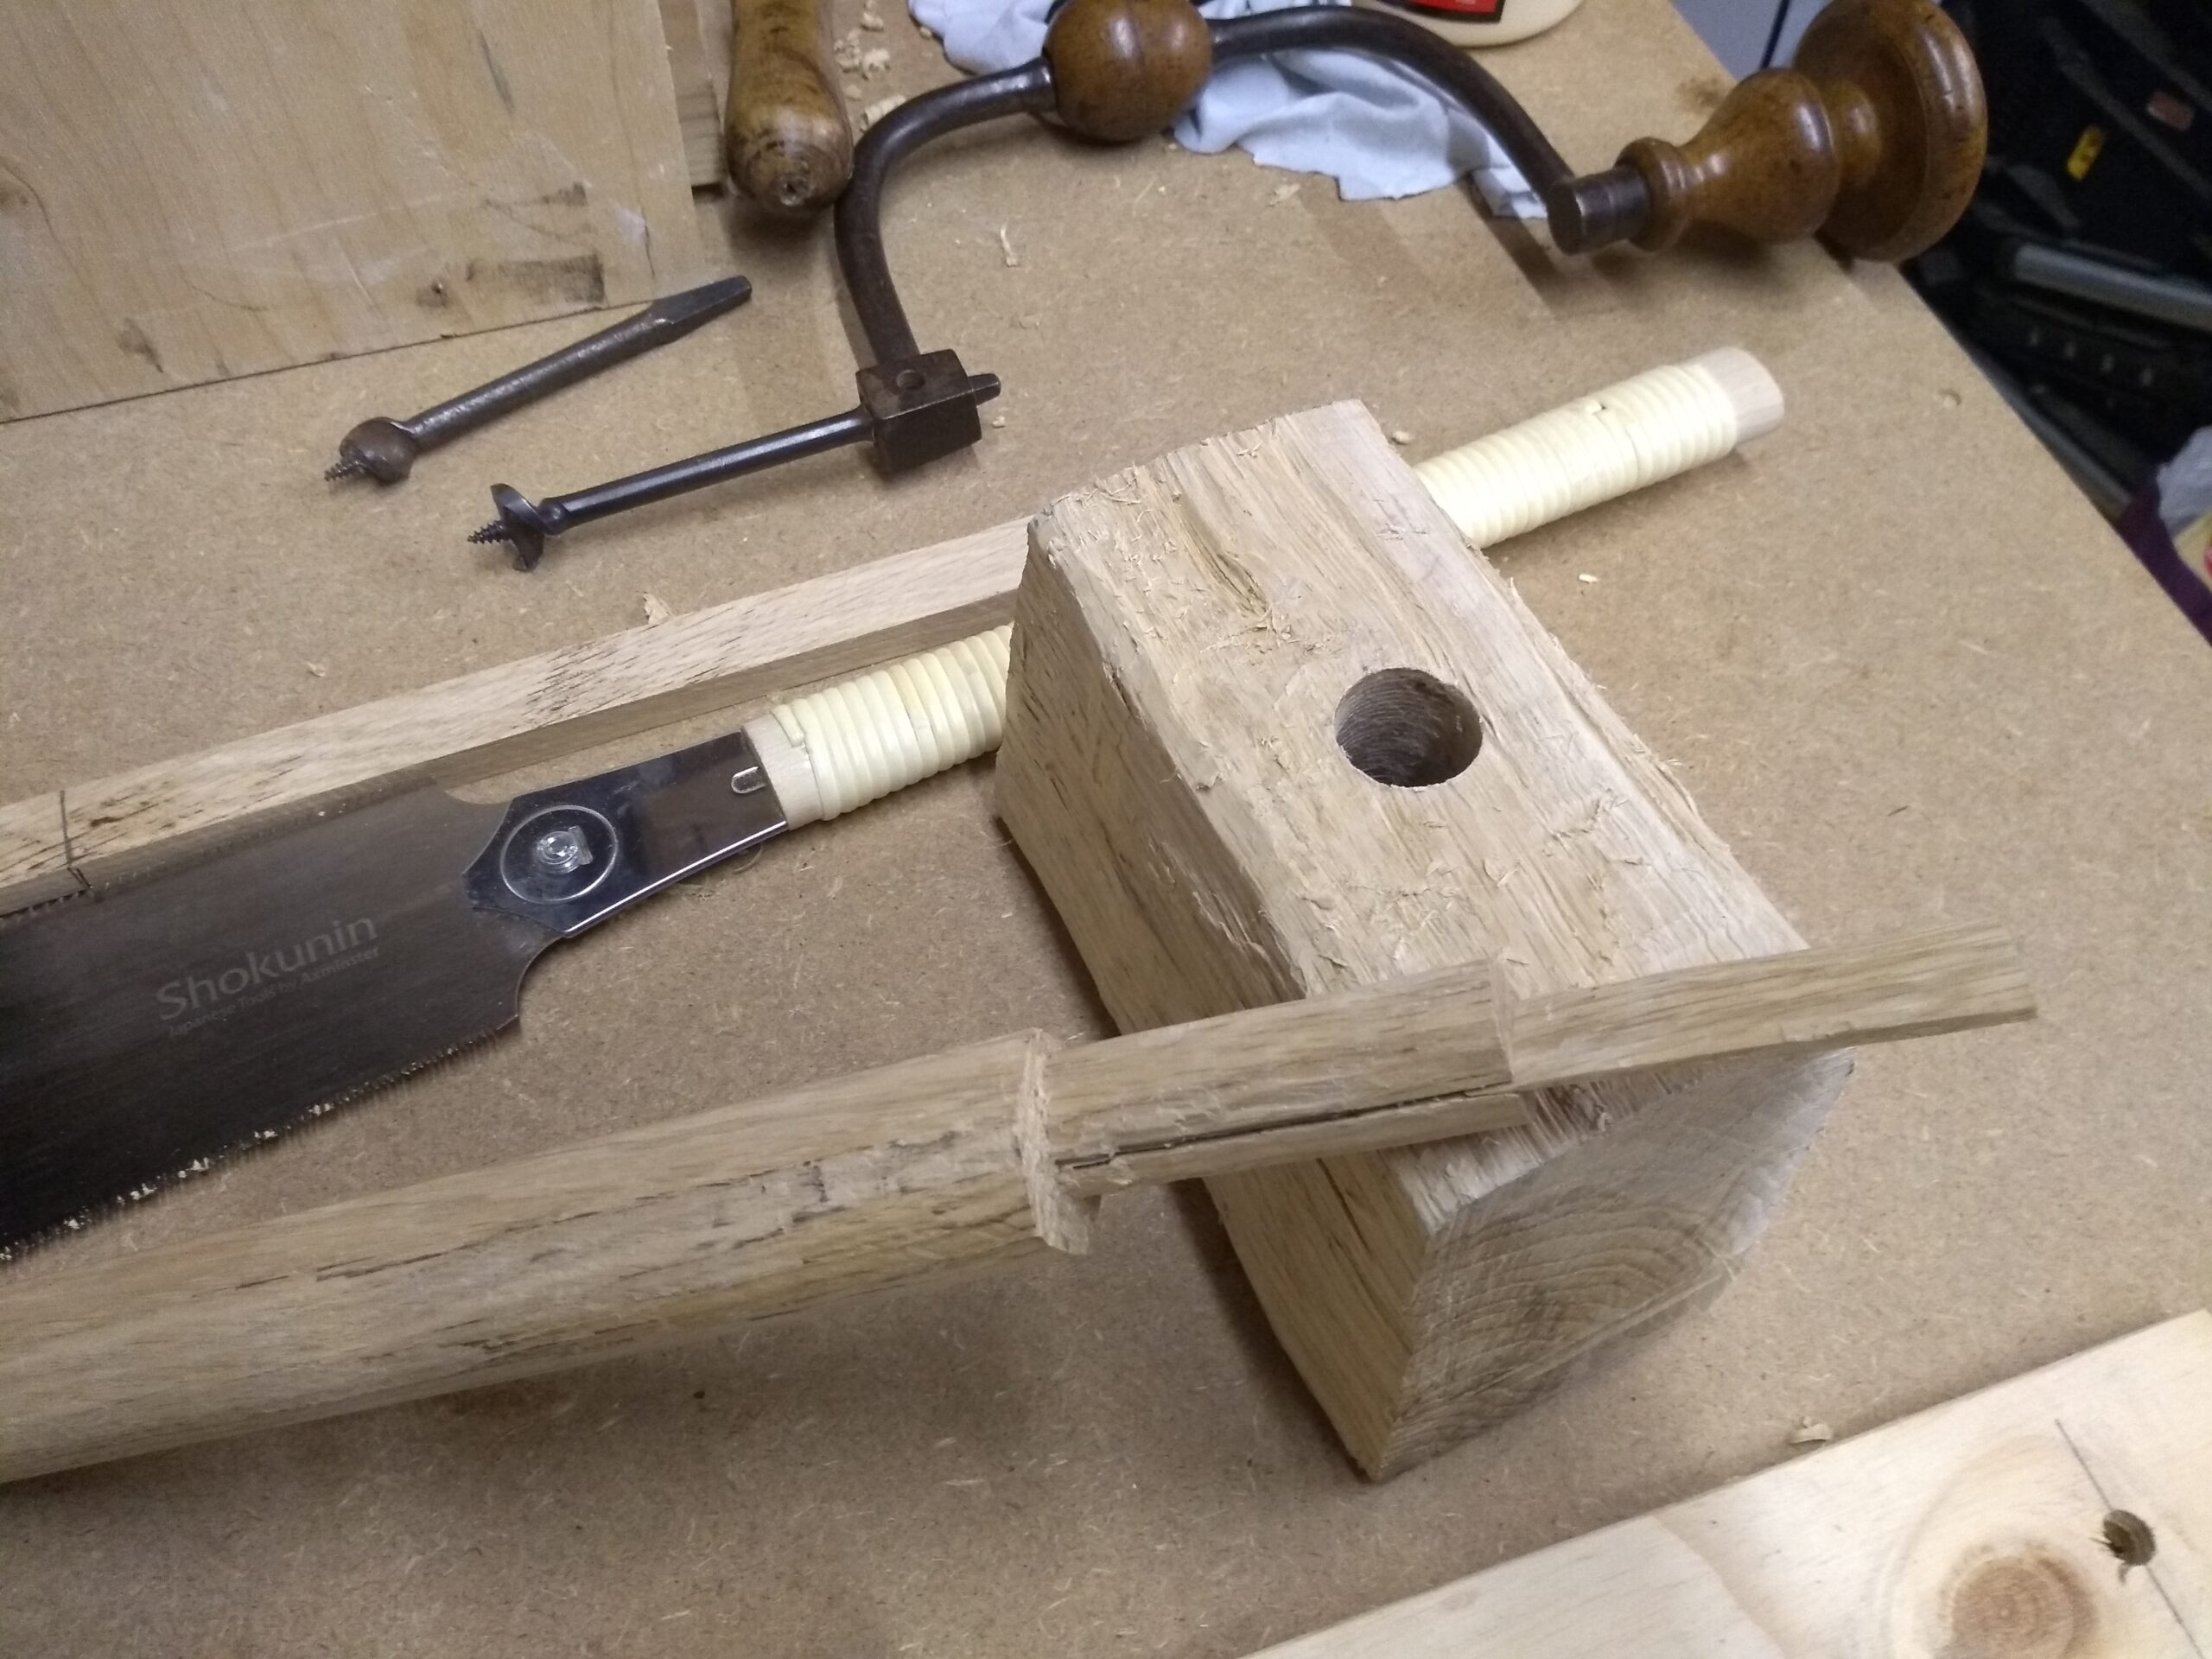
The fitting of the head was the most fun bit, and its a very simple but ingenious technique. I ripped down the middle of the tenon with a saw, and inserted a thin wedge cut from the same oak beam, as in the photo. Then I slathered it in wood glue and pounded it into the hole in the mallet head. The bottom of the hole forces the wedge into the slot, pushing the two halves of the tenon apart and locking it in place.
It is several months now since the tree was felled but the wood of the mallet head is still a quite green, so it is still slowly losing moisture and shrinking as it does so. But the wood of the handle is old and bone dry, so that joint should only get stronger.
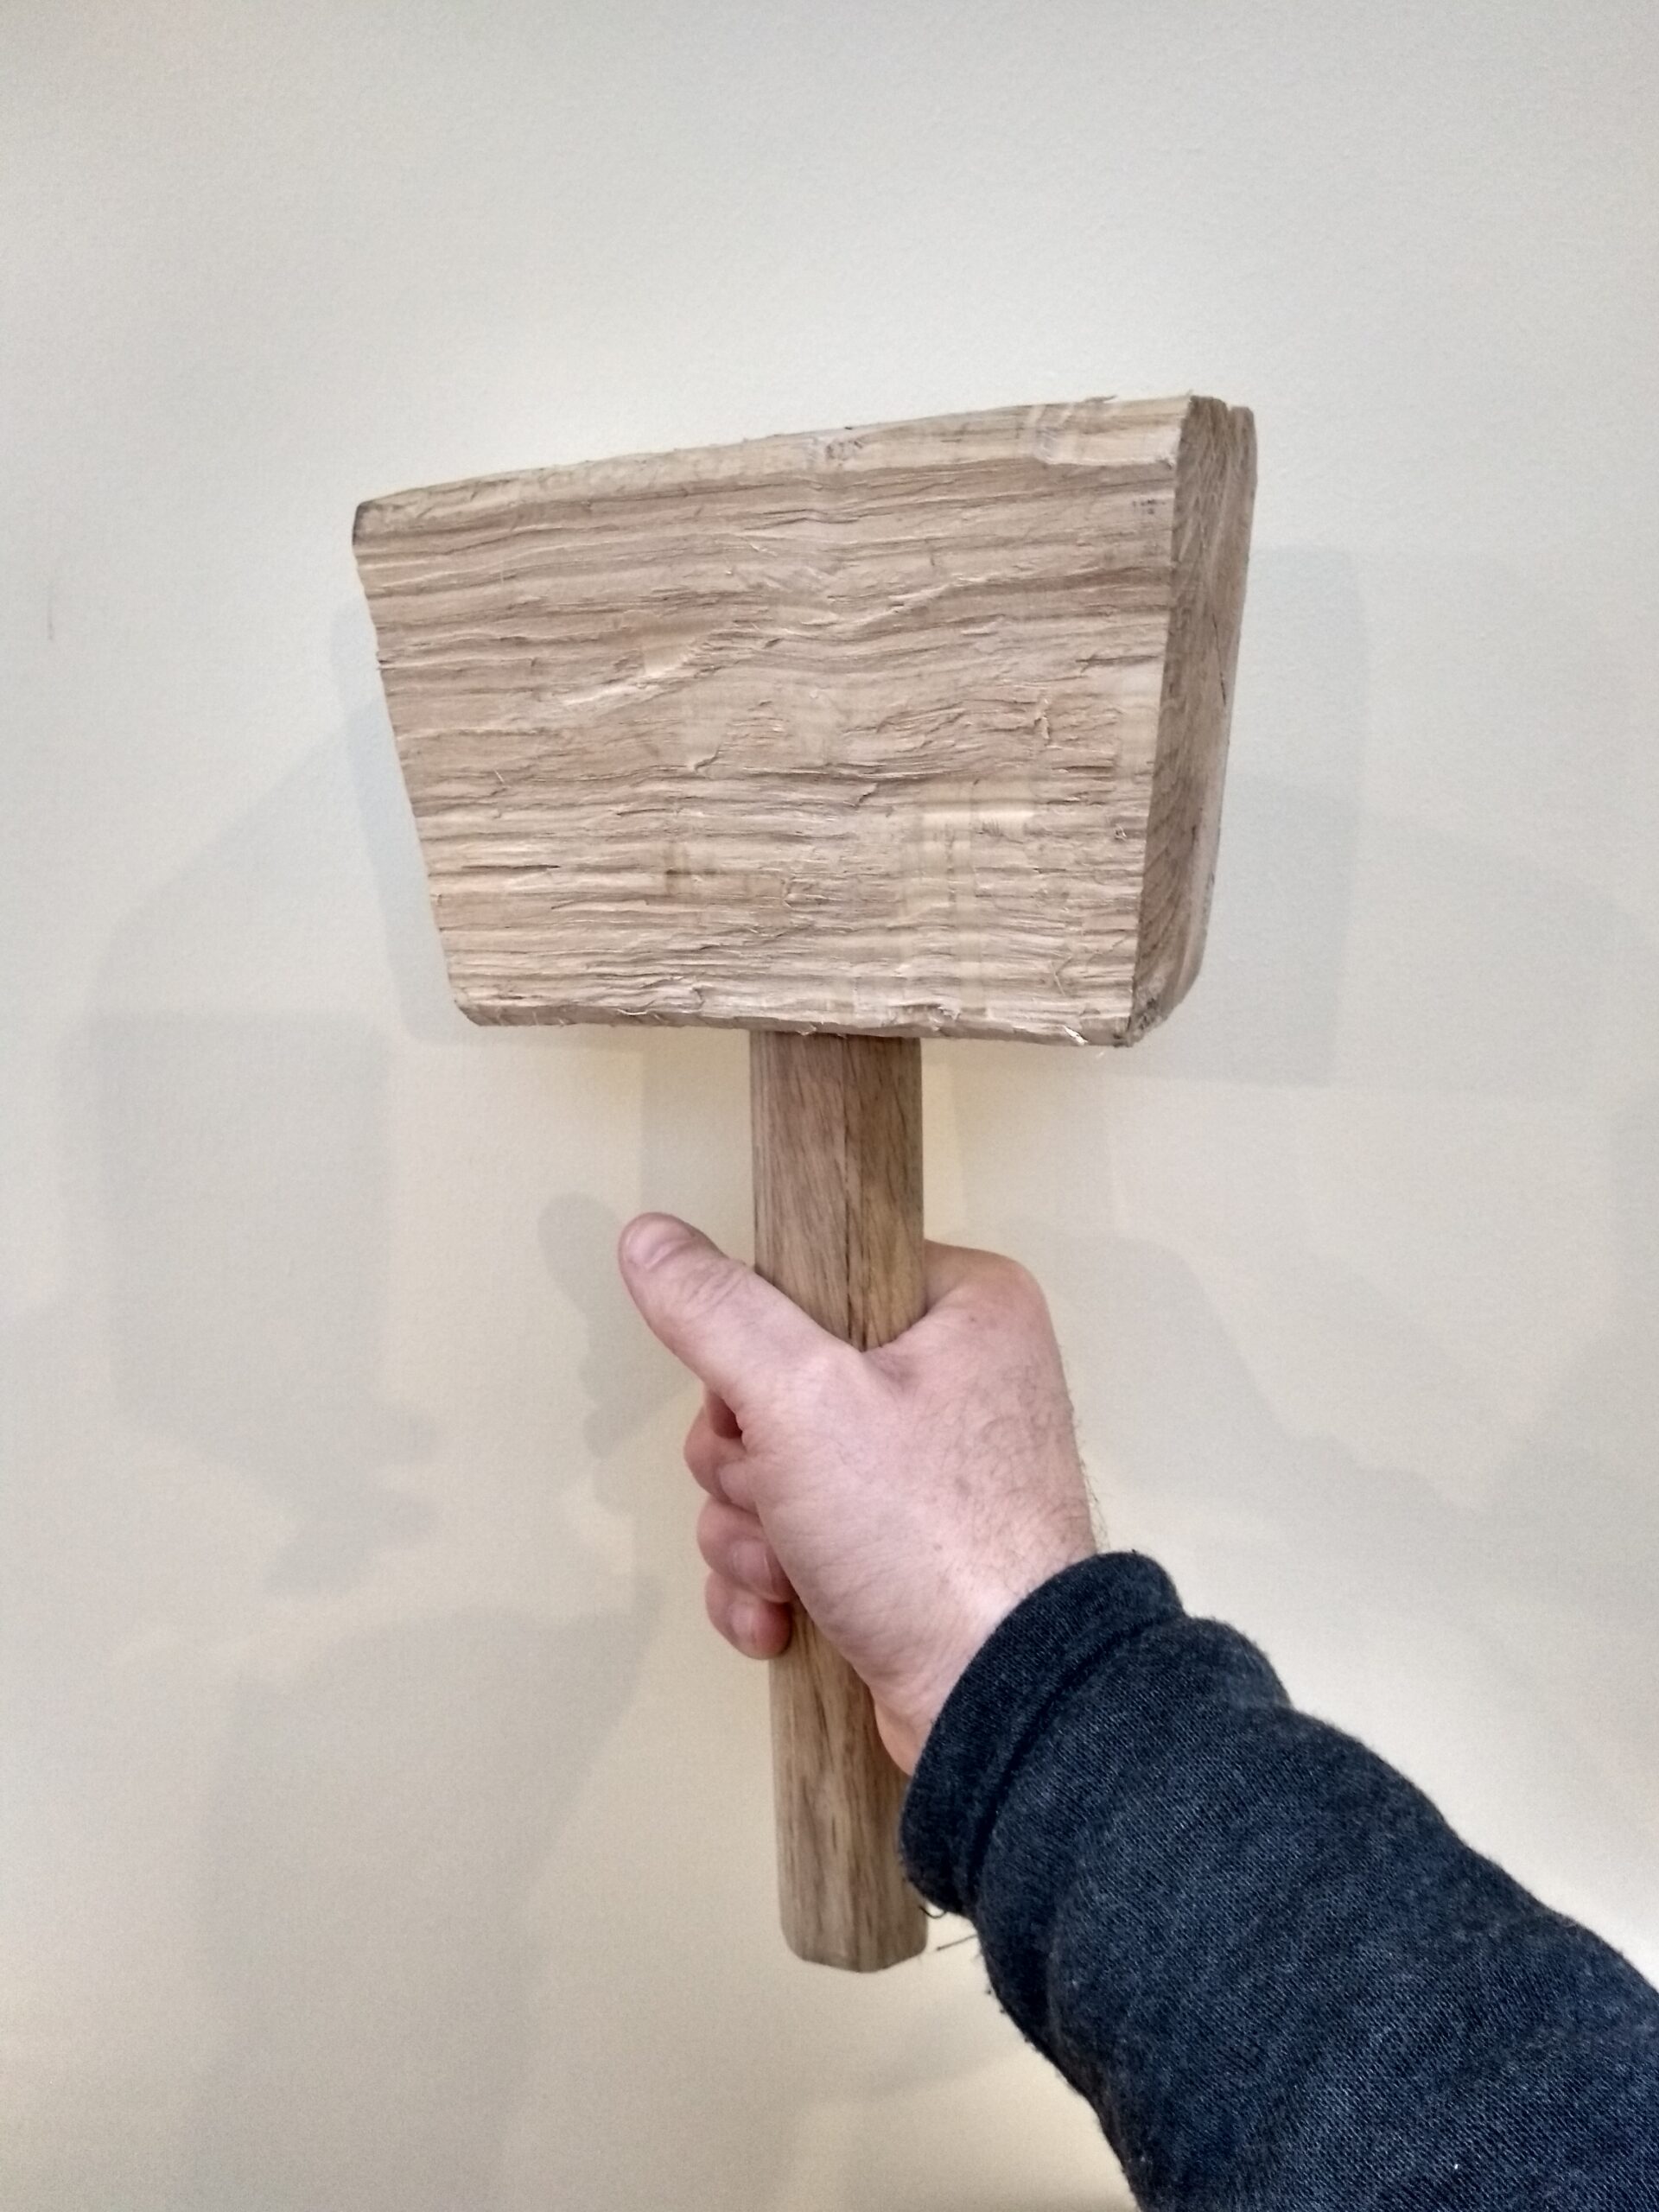
Here’s the finished tool. At 1.4kg it is probably too heavy for use with chisels, unless maybe if I’m chopping out big mortices, but I think it will be perfect for hammering in wedges to hold my work pieces on the low Roman workbench that I plan to build this year.


Unsolicited advice is crap. It puffs the ego of the giver and tells the receiver that they are inferior in wisdom and experience. It’s rarely welcome, frequently unhelpful and almost never heeded. In my opinion, avoid it.
Nevertheless, here is some advice from me, with contributions from some equally unqualified friends, to a young person just about to start university.
Some friends chipped in:
Don’t start smoking.
Gerry
Learn some stuff. Some of it about your subject, although it is almost certainly the other stuff you learn that will be of most value. And try to only get blind drunk when there is someone you trust to catch you.
Howard
Get organised fast, know where you’re supposed to be and when, do the prep work. In other words don’t piss your tutors off from the start. (This is possibly the voice of a tutor not of a former university student.)
Karen
Don’t wait until the end of your second year to join the student radio society.
Pete


Last Christmas the youngest kid got a bat detector kit in his stocking, (you can buy one here), which gave me an excuse to teach him how to solder. Since then we’ve been eager for an opportunity to try it out. At this time of year bats are not hard to find, especially near the water.
So I’m here, stuck indoors, day dreaming about wide open spaces, when Google pops up and reminds me that it’s two years since I took this picture.